

Active Photography Posts


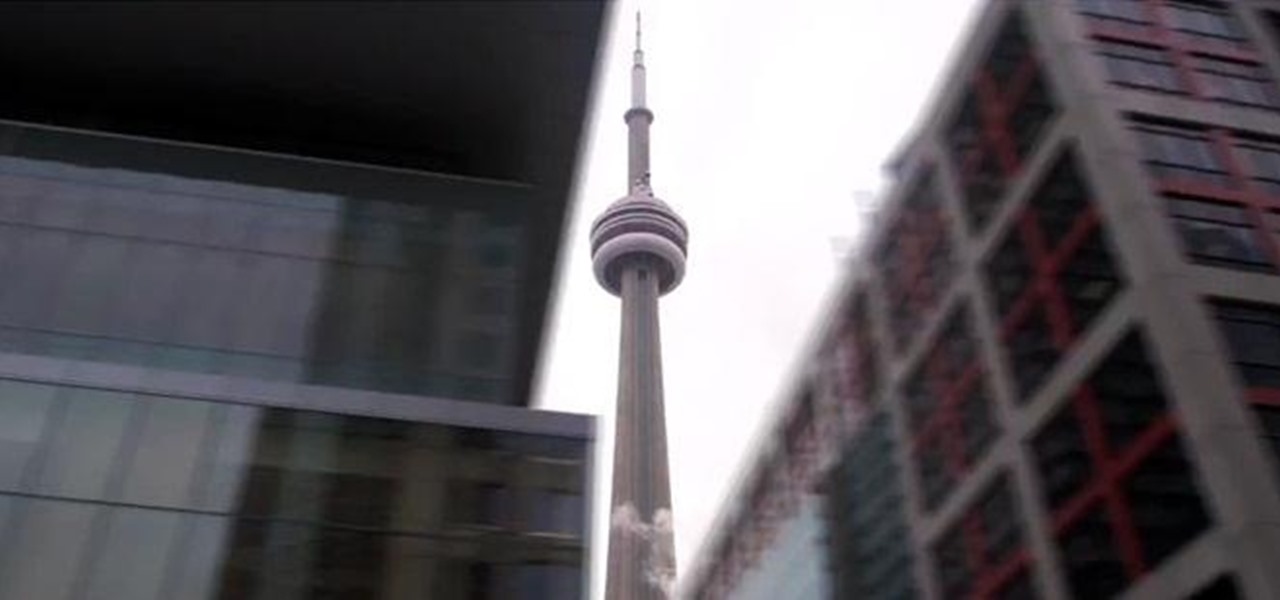
How To: Shoot a Moving 360 Degree Time-Lapse Around a Tall Building
Time-lapse videos are a recent phenomenon to the mainstream audience—in movies, on television shows, and even in commercial ads. These sped-up and blurred images are a microcosm of many of our lives in which we're constantly in a hurry to get somewhere. We like everything fast: our work, our coffee, and our news.

How To: Add Rainbow Effects to Your Photos Using a Cheap Prism
Want to add cool, colorful effects to your photos without paying for filters or using Photoshop? A cheap glass prism (and some practice) is all you need to bend the light to capture images like the ones below taken by wedding photographer Sam Hurd. Sam uses a six inch triangular prism to catch the light and reflect images in front of his lens. The shape allows you to "twist the prism into creating a curve and bend-like distortion of your surroundings," which can create rainbow effects and mir...
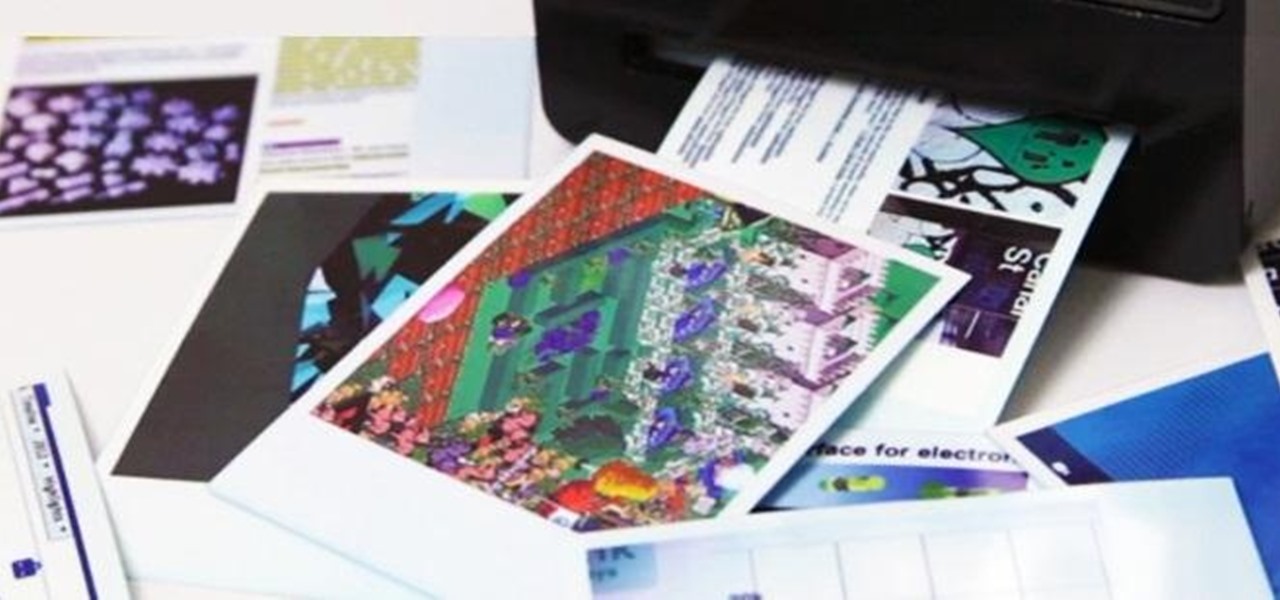
How To: Print Memorable Photos of Your Digital Life Online Using the Polaroid Cacher
Polaroid photographs have a charming old-fashioned feel to them, evoking nostalgic memories of past days. My younger sister used to carry her Polaroid camera everywhere she went, transforming even the most trite moments into something wonderful.
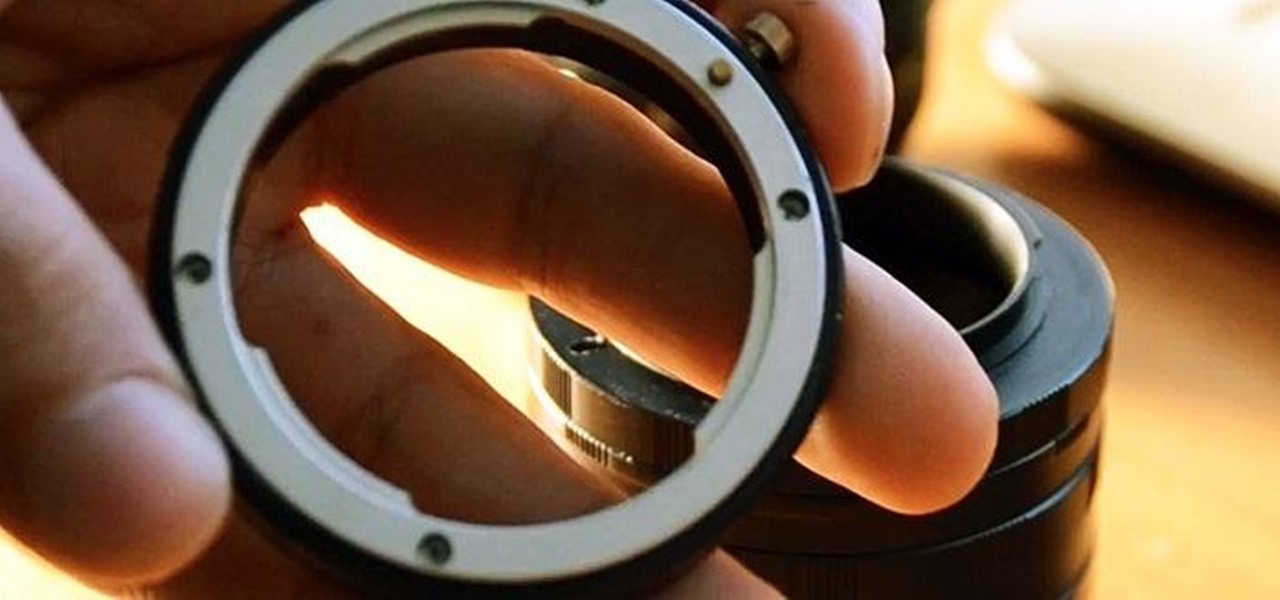
How To: Manually Control Aperture with Macro Extension Rings
Macro extension rings are an affordable solution to buying expensive macro lenses, but there is no way to control the aperture when using macro extension tubes without contacts. However, by utilizing a piece of paper, you can easily control the aperture.
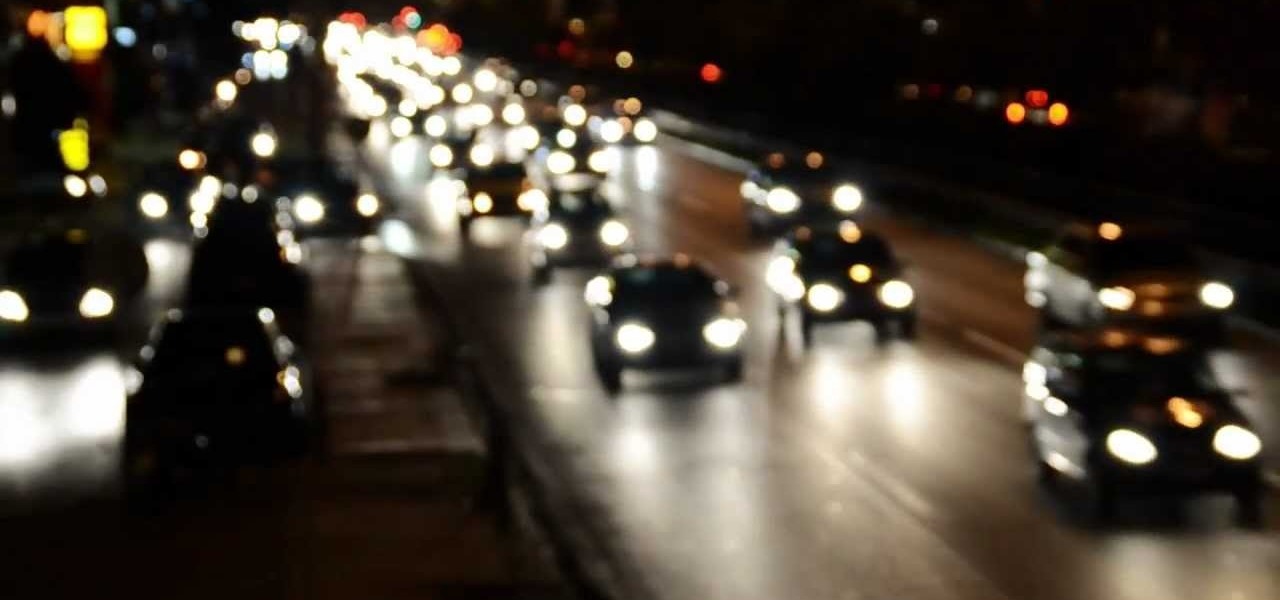
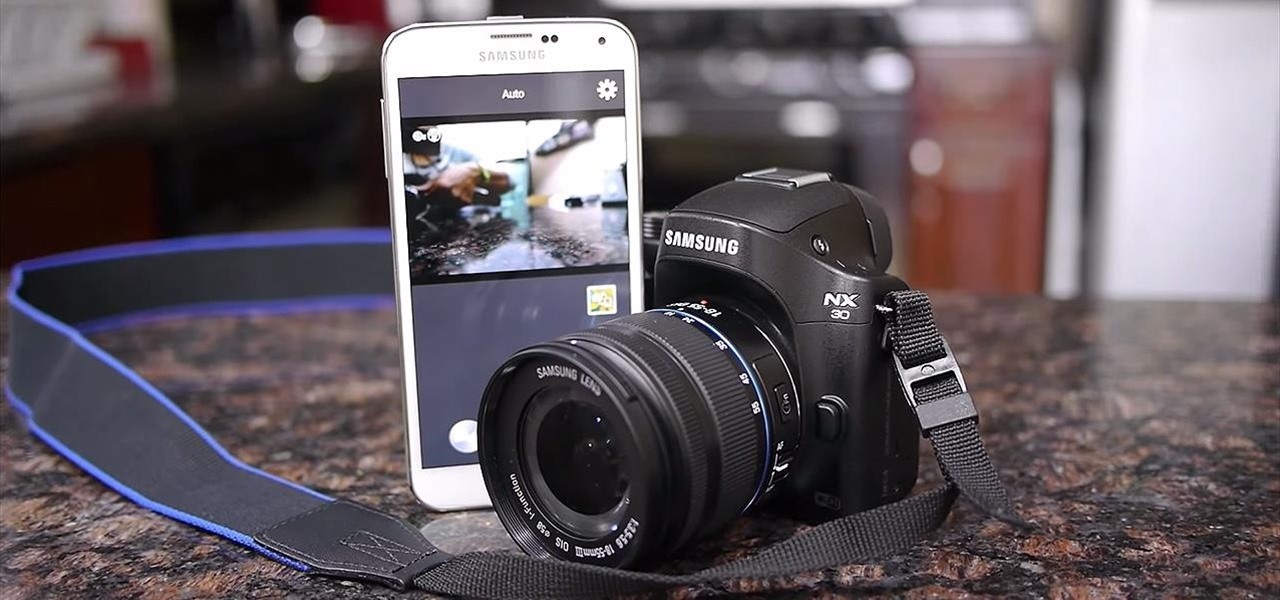
How To: Film at Night with Your DSLR
Have you ever tried to film at night with your DLSR in place with no good lightning at all or at places were the lights are flickering? Here its the Solution in 4 simple steps.

How To: Make the Simplest Flash Bounce Ever for Your Camera
Sick of washed out photos? How about red eye? Or maybe you can't get the right shot because your flash is causing too much shadow in the background. That's what a flash bounce is for—it reflects the light off of the ceiling or another surface so that your photos look more balanced.
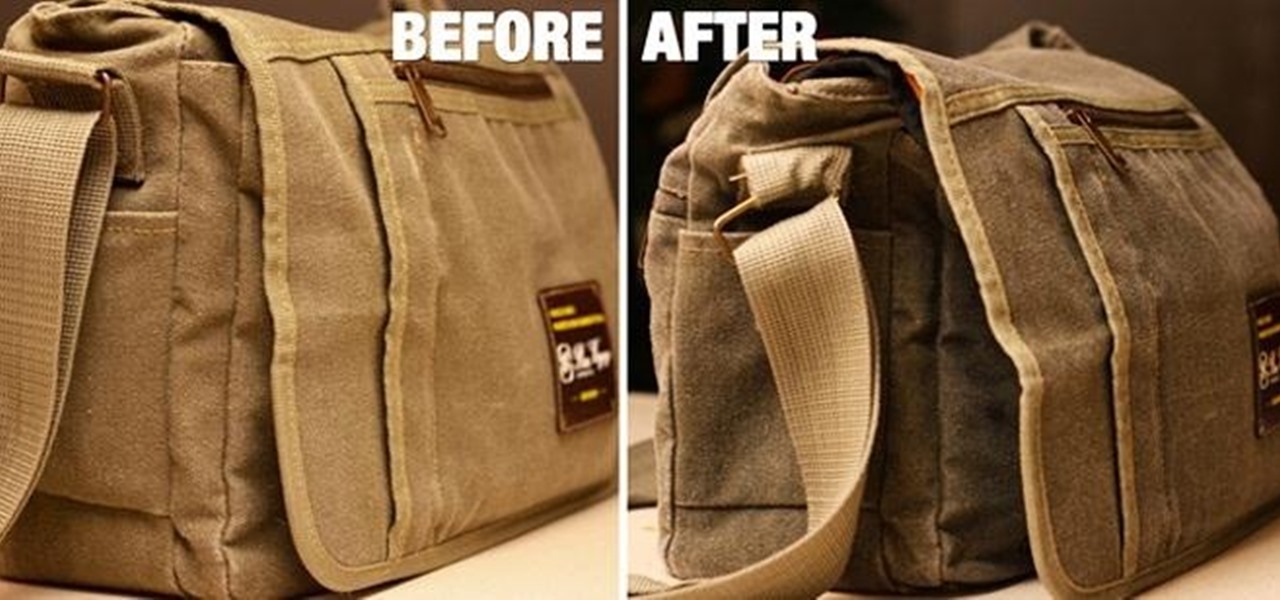
How To: Turn a Canvas Messenger Bag into a Water-Resistant Waxed Camera Case
If you take your camera equipment with you on a pretty frequent basis, having a camera bag can help protect it and makes it much easier to keep everything in one place. A good camera bag can be pretty expensive, but with this tutorial by photographer Allen Mowery, you can turn a cheap canvas messenger bag into a nice looking DIY waxed camera bag for half the price. For this project, you'll need a canvas messenger bag, a camera insert, and some paraffin wax, which can be found in the canning a...
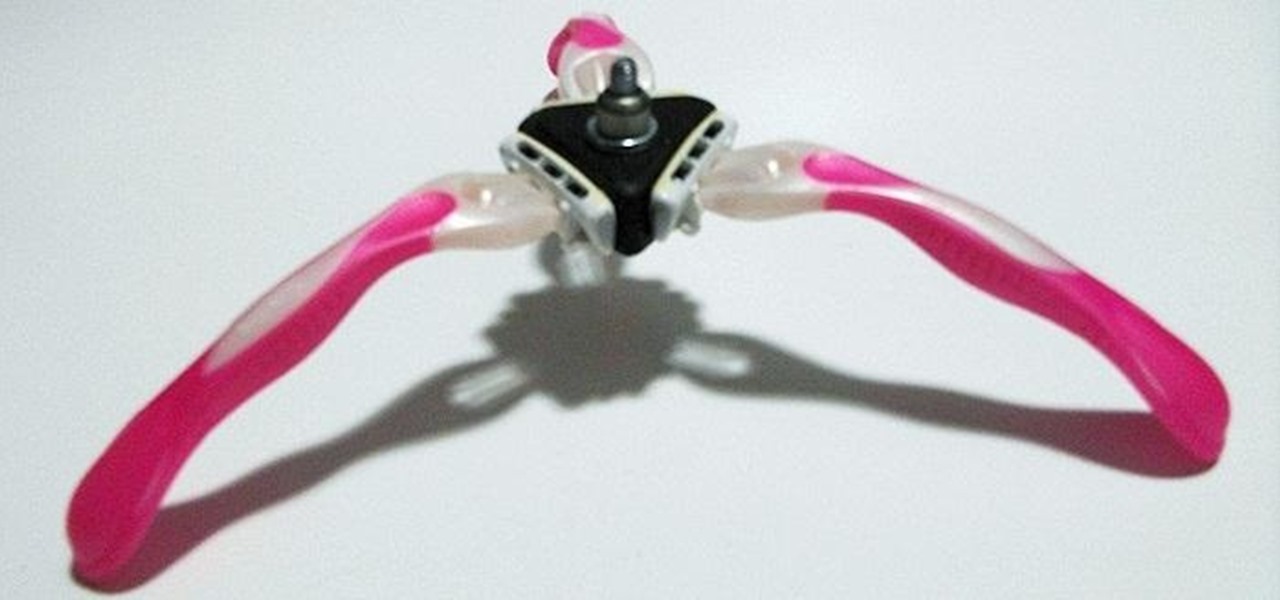
How To: Make a Mini DIY Camera Tripod Using Old Disposable Razors
Choosing the right tripod stand can be a difficult decision, but if you want to avoid the hassle and save some money, making your own easy to use tripod can be the best way to go. If this tennis ball tripod isn't right for you, then maybe this disposable razors one by Instructables user Jawasan will do. This tripod stand only works for small cameras, so make sure yours is light enough before you start.
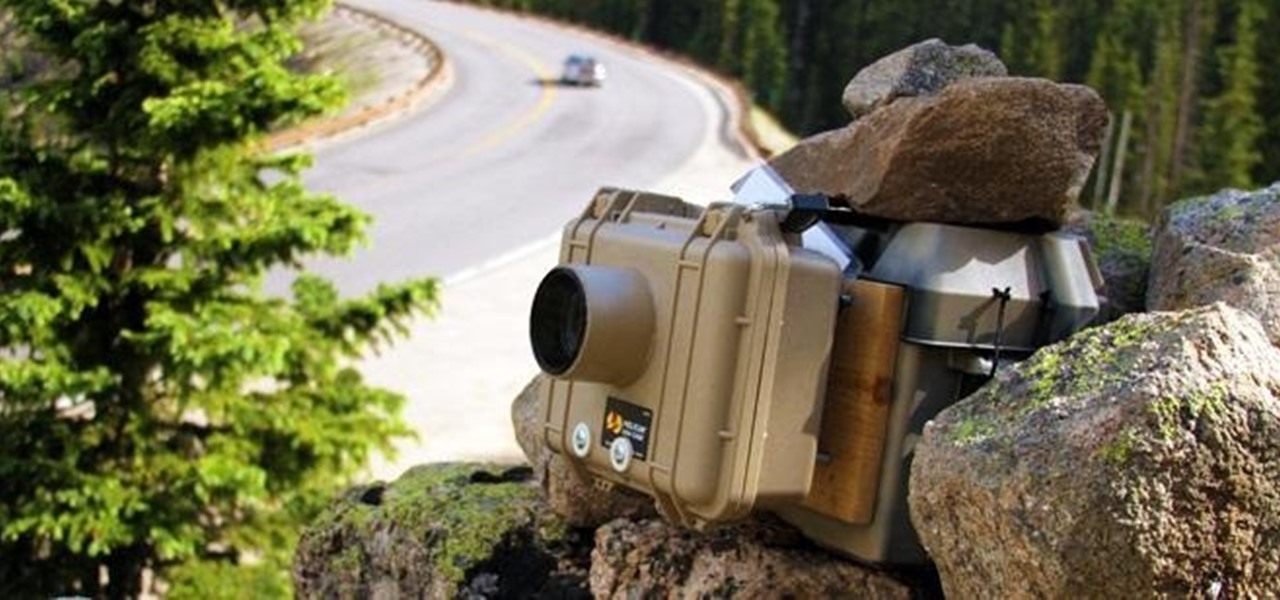
How To: Build a Weatherproof Camera Enclosure for Long Term Time-Lapses
There are plenty of ways to create time-lapse photos and videos, but most of them are taken over the course of several hours. If you want to do a longer term shoot over several weeks or months, you'll need a battery that can last that long, and you probably don't want to leave your DSLR sitting somewhere for that amount of time anyway.
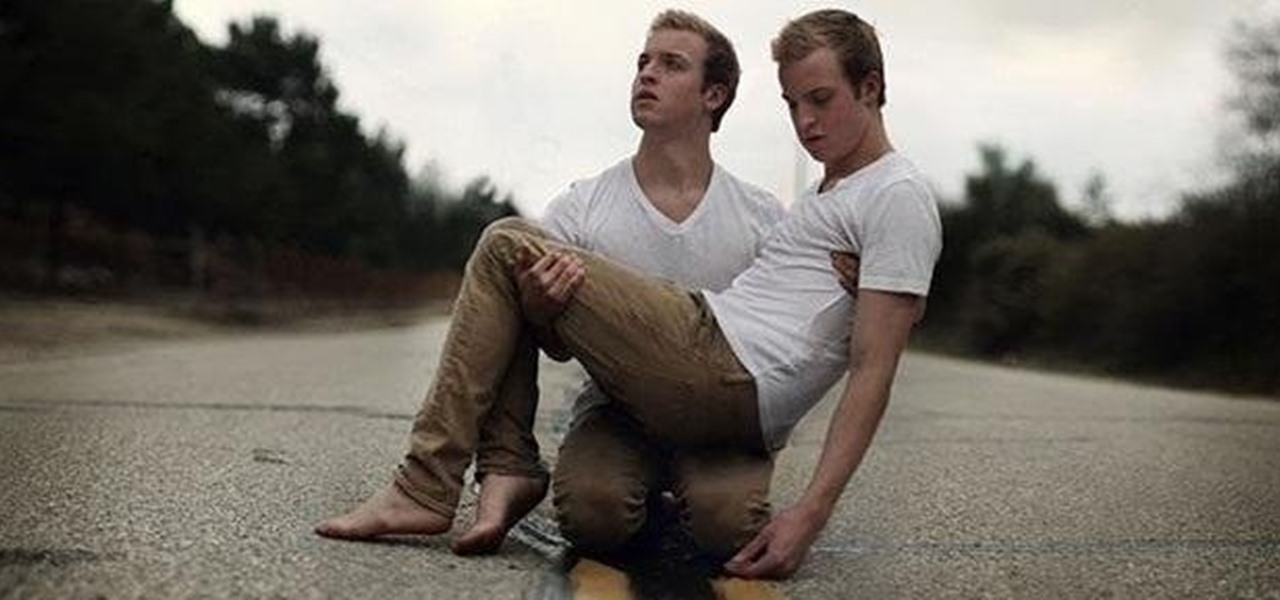
How To: Take a Crazy Self-Portrait of You Holding Yourself
David Talley, a 19-year-old fine art photographer, has been widely praised for his surreal self-portraits. Many of them take hours to set up and shoot, and even more time to post-process through Photoshop or any other photo editing program.
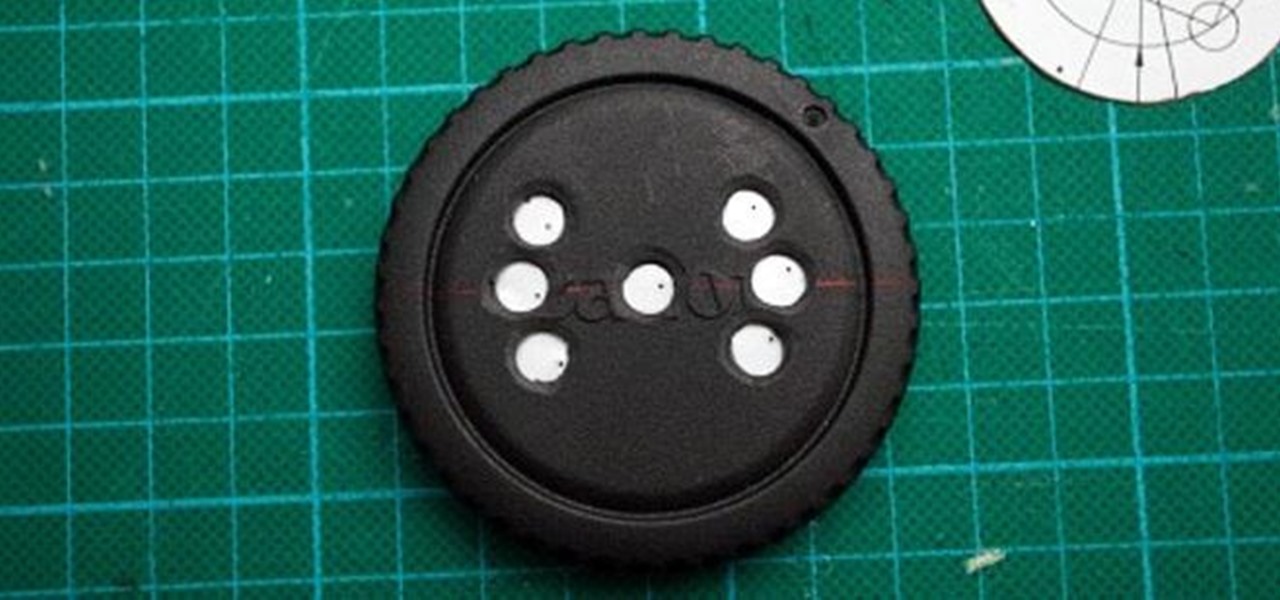
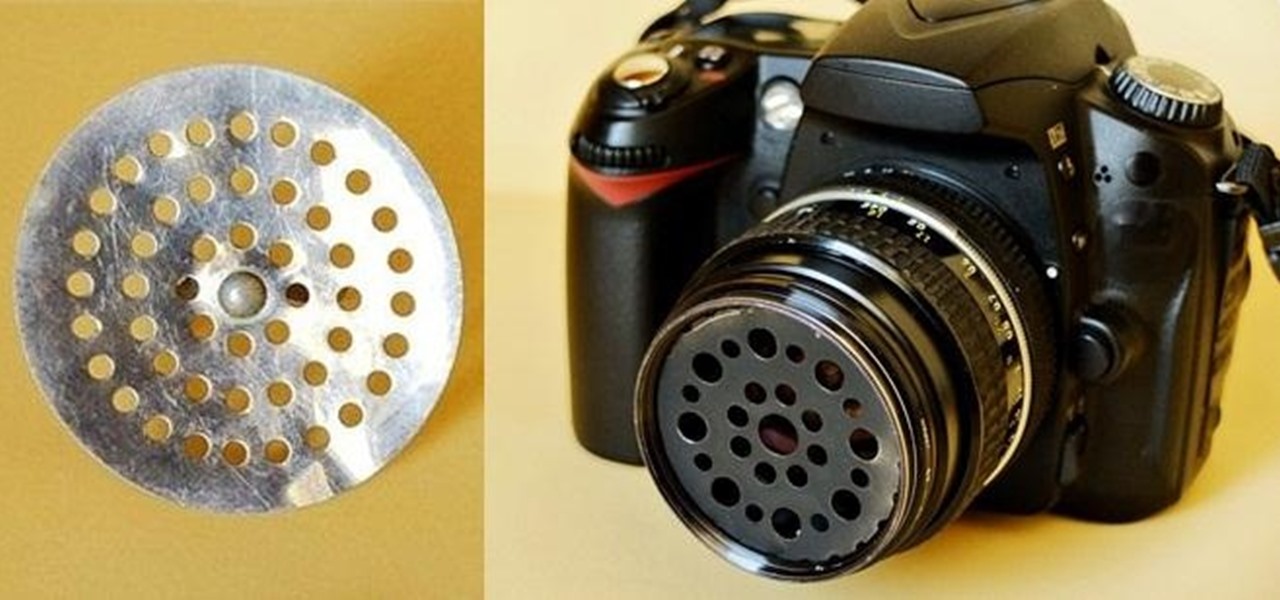
How To: Make a Super Cheap Pinhole Lens Filter for Your DSLR Camera
There are tons of ways to make your own pinhole camera out of everything from a juice box to a pine nut. If you have a DSLR, you can make a DIY pinhole lens for it for just a few bucks. David O'Sullivan over on DIY Photography made this one using a cheap body cap and an aluminum can. Here's how to make your own. David put up a template you can follow to make things easier, so start off by downloading it, then use a ruler to draw a line directly through the center of the body cap. Cut out the ...

How To: Create DOF Changeable Photos That You Can Refocus—Without Buying a Lytro Camera
Last year, Lytro released their first light field camera to help photographers have more control over focusing. This innovative and revolutionary camera allows users to change the depth of focus of a photograph after the picture is taken.
How To: Build a Cheap Ring Light for Your Smartphone with Velcro and an LED Camping Tent Light
When it comes to the quality of a photo, lighting can make or break it. Too much light, and your subject looks washed out. Too little, and you can't even tell what your subject is.
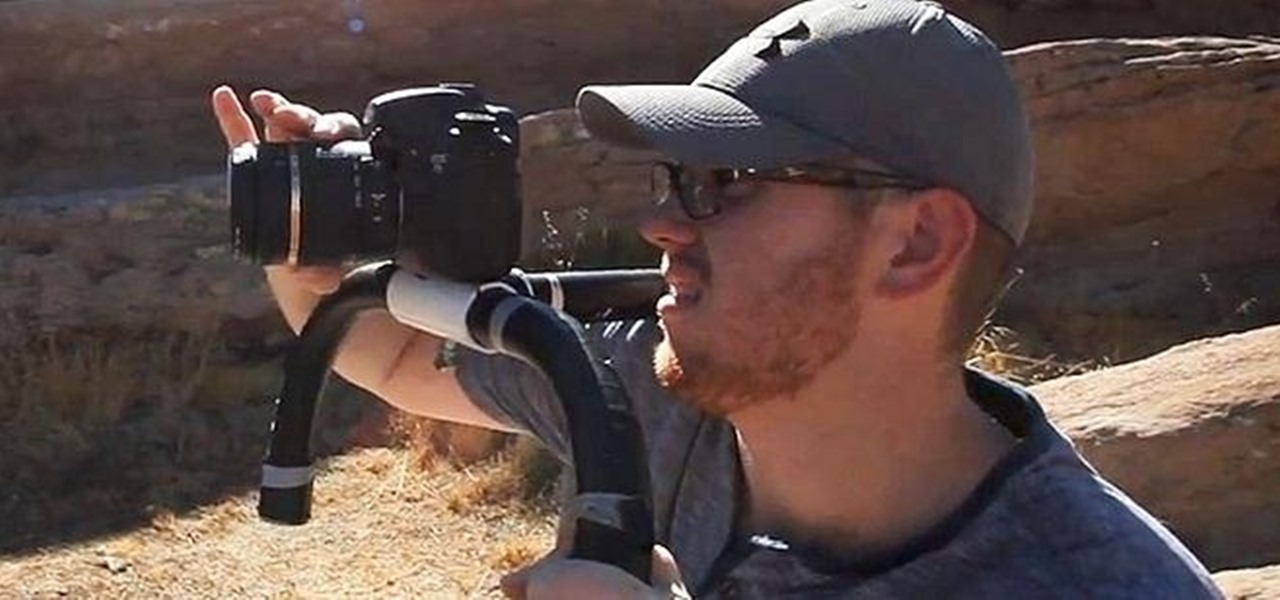
How To: Build a PVC Shoulder Rig Stabilizer for Your DSLR Camera for Under $25
When you're capturing video with a DSLR, not having some type of stabilization system can lead to some pretty awful and shaky scenes. Camera instability is not only painful to watch, but breaks the fourth wall. Once that the invisible barrier between filmmaker and audience is apparent, it may break down that magical relationship between the two.
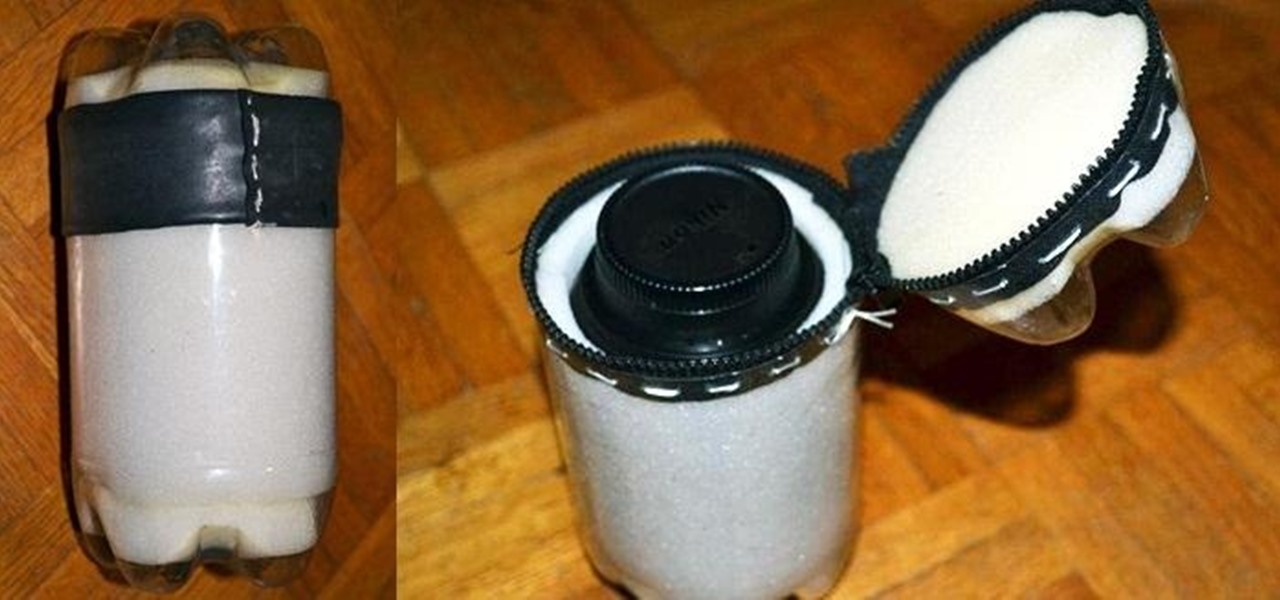
How To: Turn a Plastic Bottle into a Zippered Waterproof Lens Case
When you have a lot of equipment, dragging it everywhere with you can be a pain, especially when the weather's bad. Sure, you can put it in a camera bag, but a lot of them don't protect your stuff from water, and waterproof cases can get expensive.

News: It's Magic! See 3D Without the Glasses
On last week's Gizmodo Shooting Challenge, submittors were challenged to create photos that could be seen in 3D, simply by refocusing the eyes to merge two appropriately placed white dots.
How To: Turn a Sink Strainer into a Soft Focus Camera Lens Filter
Soft focus photography can produce some beautiful images when used properly. It's used a lot in beauty and glamour shots, but can be applied to other types of photos as well. Some digital cameras have pre-programmed settings for soft focus shots, but if you're using a DSLR, you'll need a special lens or filter to do it.
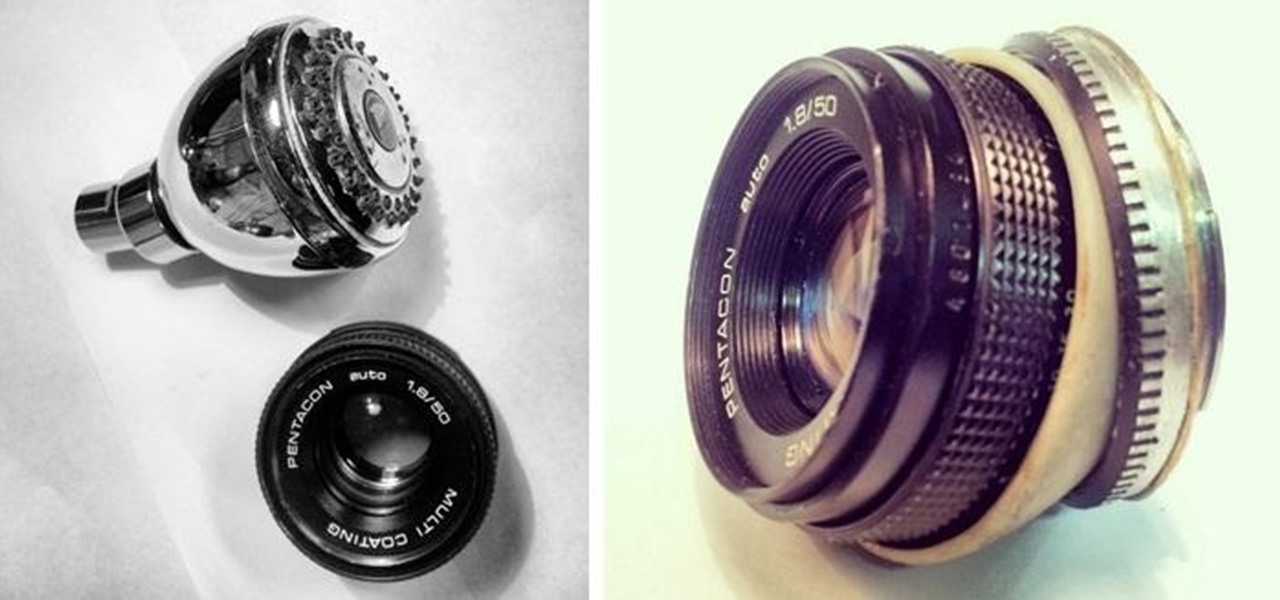
How To: Make a 50mm Lens into a Tilt Lens Using a Shower Head
There are so many ways to modify your camera using common household items, like clothes hangers, an umbrella, or even a jar of peanut butter. Here's a new, unexpected addition to the list—a shower head. Maciej Pietuszynski came up with this brilliant camera mod, which uses a shower head to turn an old 50mm lens into a DIY tilt lens. This trick works by using the part from the shower head that allows you to adjust the angle. You'll have to take apart the lens and cut the shower head in half. T...
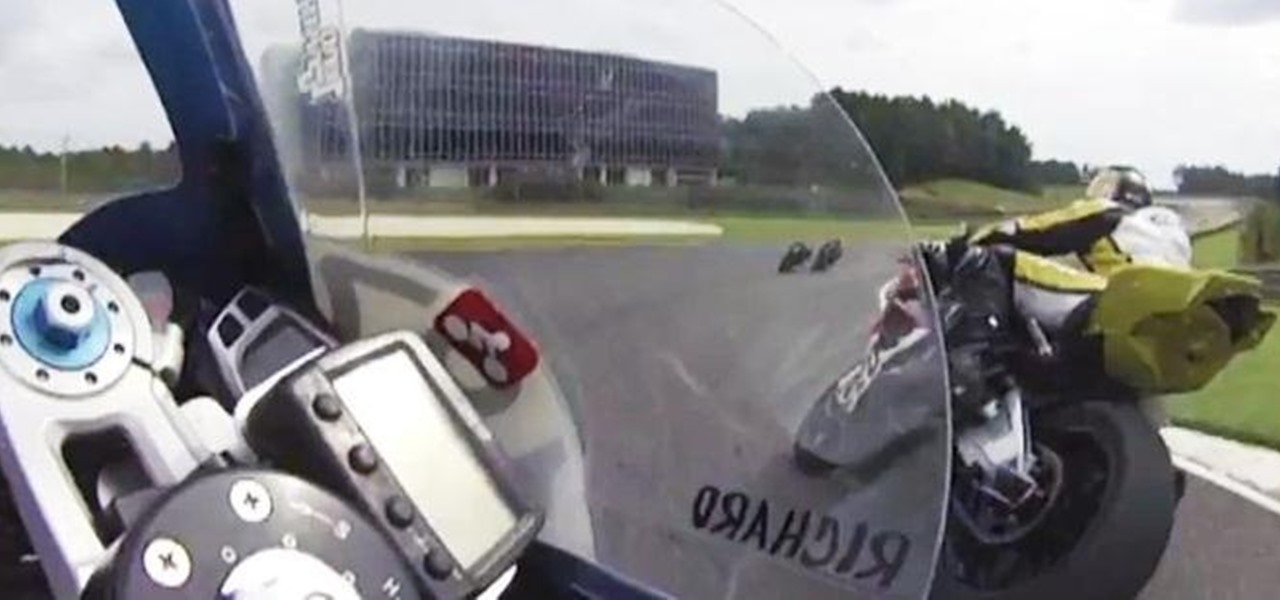
How To: Build a Horizon-Stabilized Camera That Mounts on Your Bike or Motorcycle
There are plenty of ways to mount your camera on your bike, but there's not much you can do about uneven surfaces on the road that cause your videos to end up looking shaky. If you're on a motorcycle, it's even worse because turns force you to lean, which makes your video tilt.
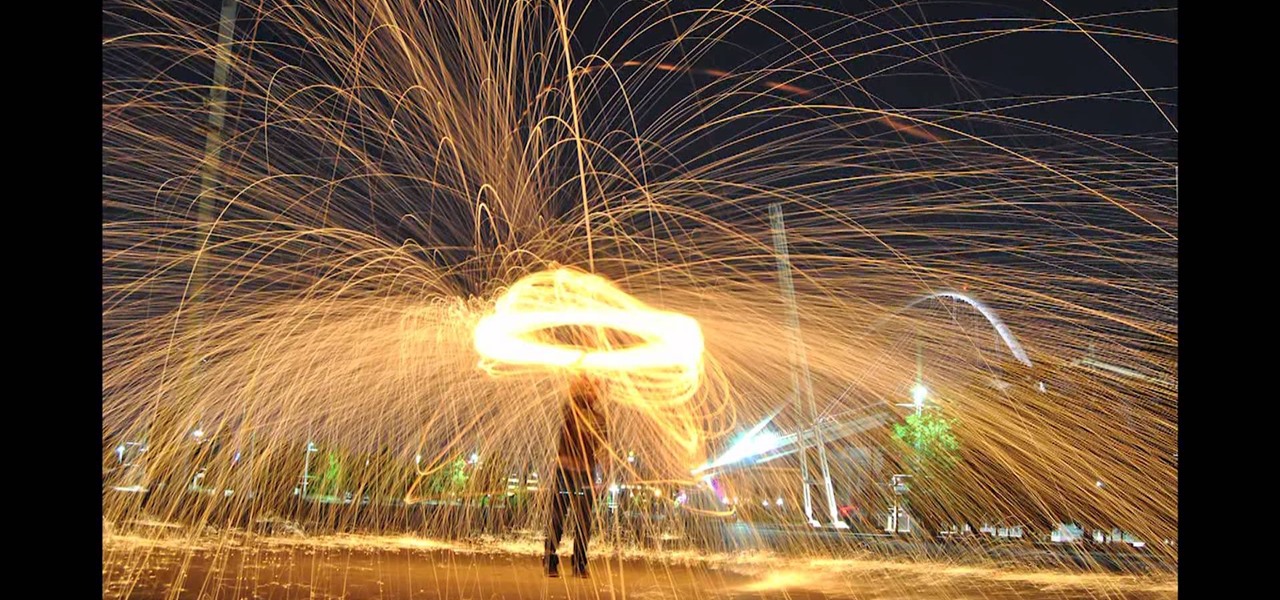
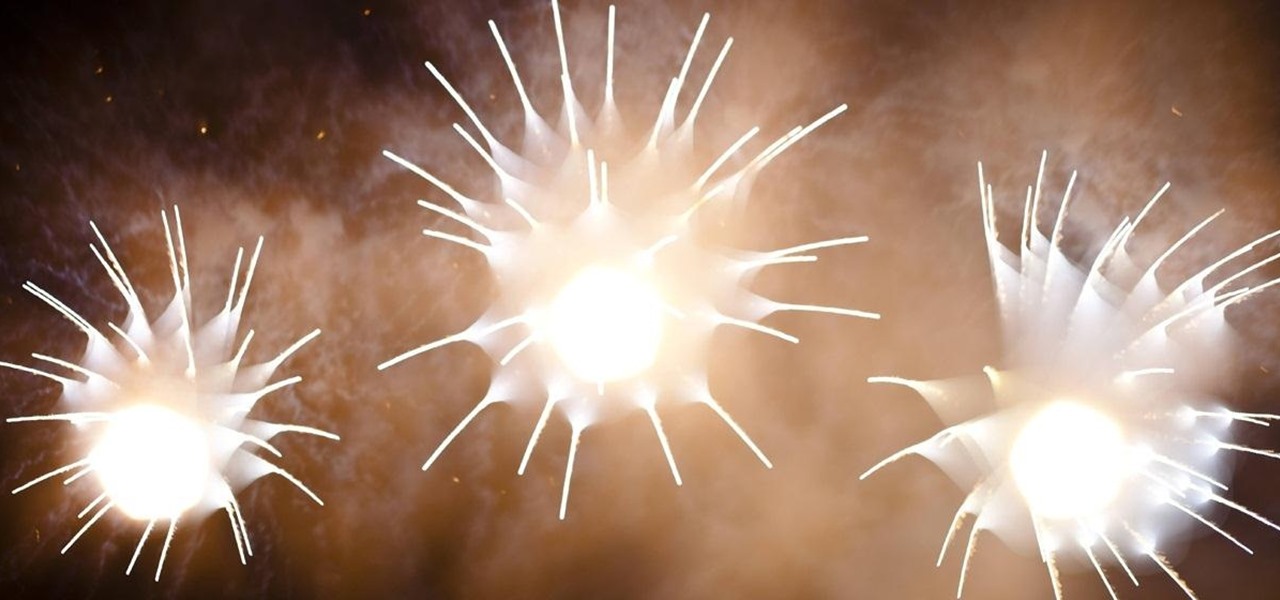
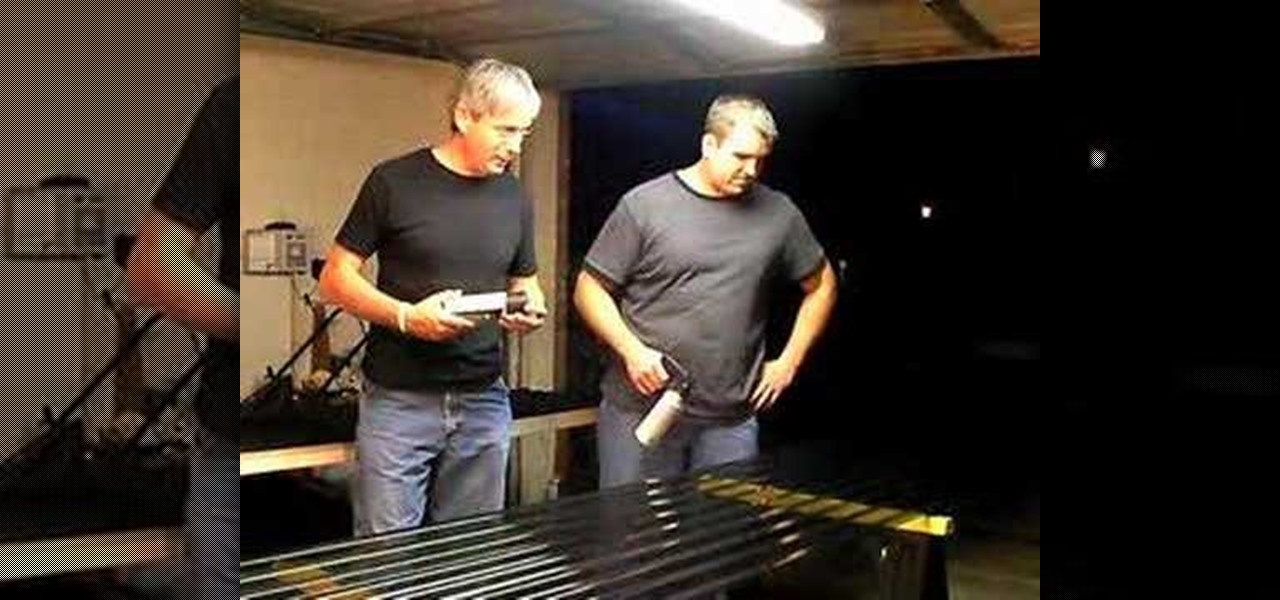
News: Steel wool fire photography - Night shots
Video: . Steel wool fire Photography
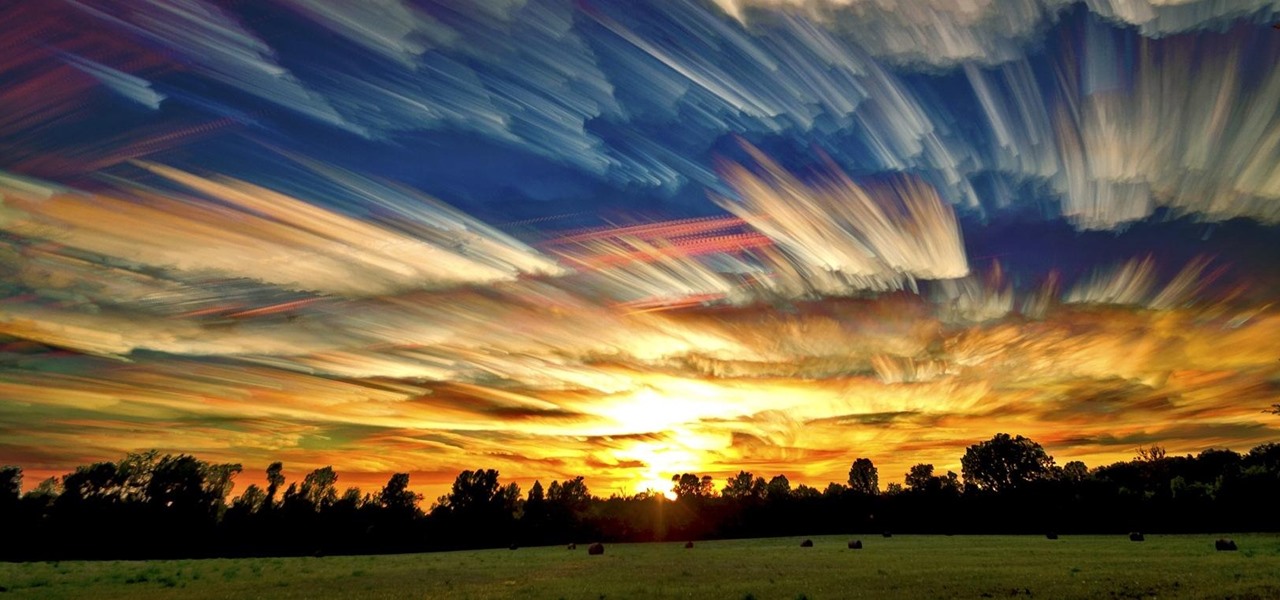
How To: Turn Time-Lapsed Clouds into a Brushstroke Painting with This Photo Stacking Technique
You can create a lot of impressive effects by stacking or layering photos, whether you do it in a darkroom or with Photoshop. The Harris shutter effect makes your photos super colorful, and double exposing or stacking negatives makes for some crazy looking portraits.
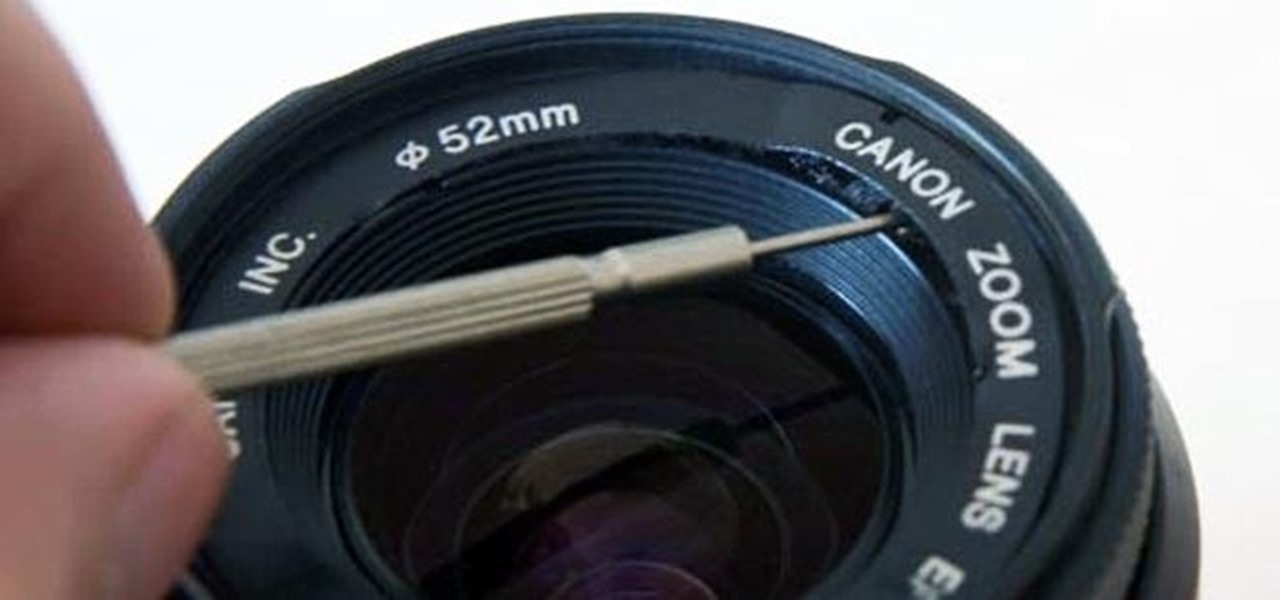
How To: Turn an Old Kit Lens into a DSLR Macro Lens in Five Minutes
There are tons of ways to make a macro lens for your smartphone, but if you need one for a DSLR, it's not quite as simple as using a magnifying glass or a drop of water. If you have an old kit lens, though, you can turn it into a macro lens in no time—all you have to do is remove the front element. For this hack, Juha Loukola over on PetaPixel used a Canon 38-76mm lens, but says that the process should be pretty much the same for other lenses.
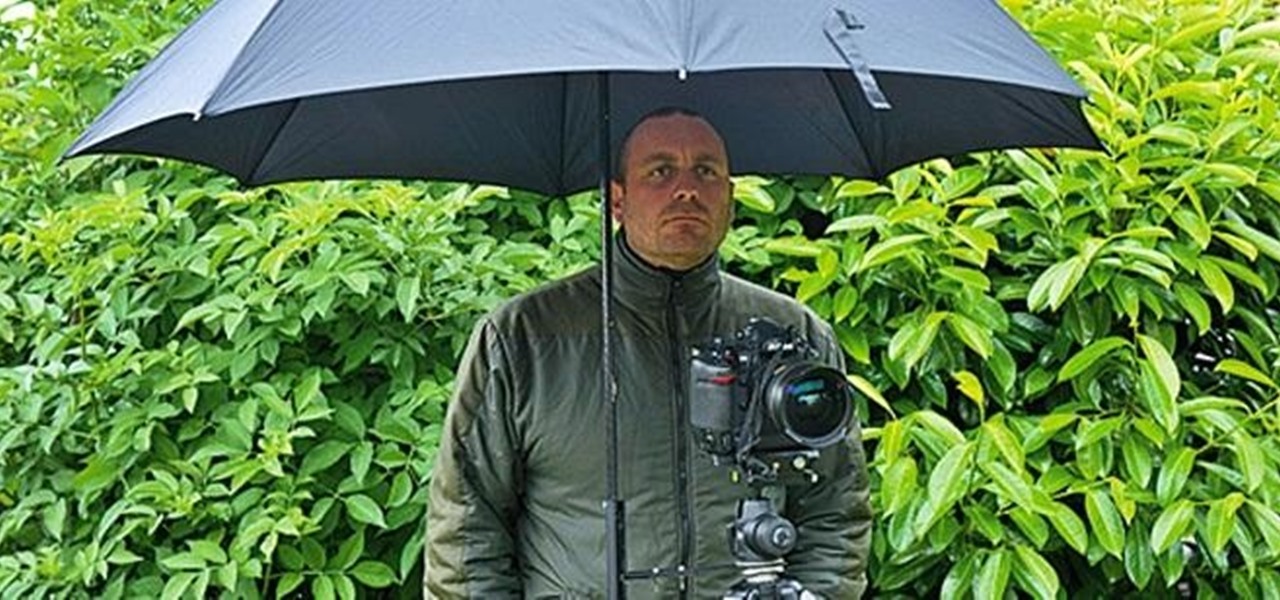
How To: Protect Your Camera from Rain with This Hands-Free DIY Umbrella Holder for Your Tripod
When you're shooting in the rain (or other extreme weather conditions), there's a lot more to think about since cameras and water don't exactly mix well. An umbrella will protect your gear, but unless you have someone to hold it for you, it can be a pain to use.
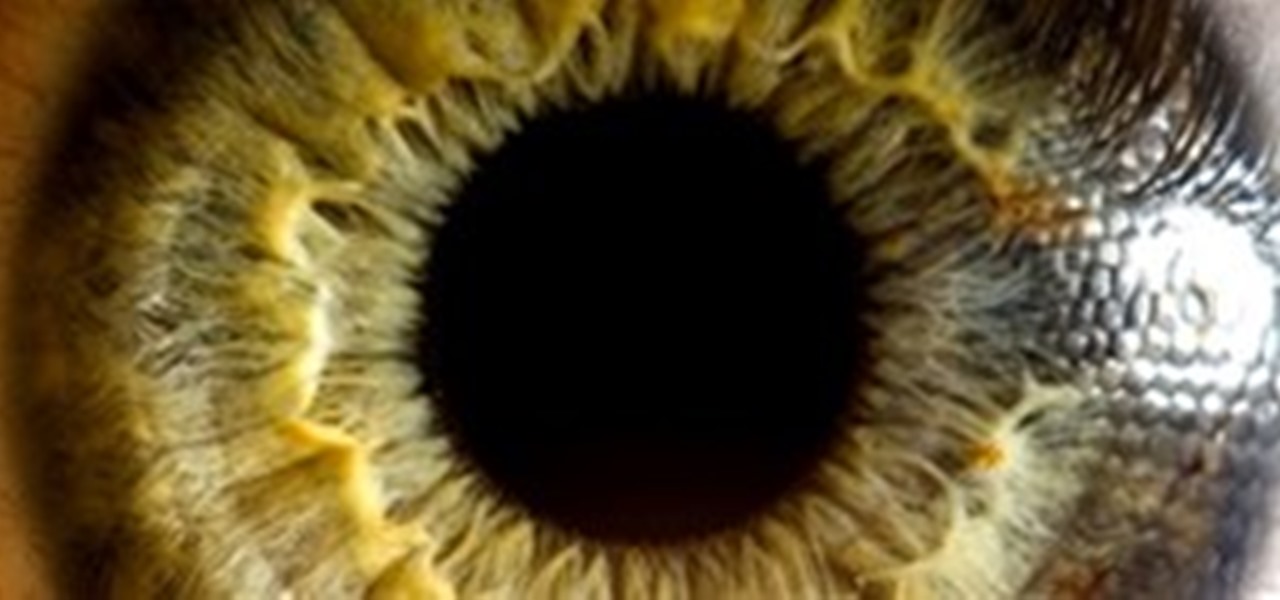
News: AMAZING What You Can Capture With a Macro Lens!
Photographer Suren Manvelyan presents an incredible series of macro photographs of eyes, entitled: "Your Beautiful Eyes".
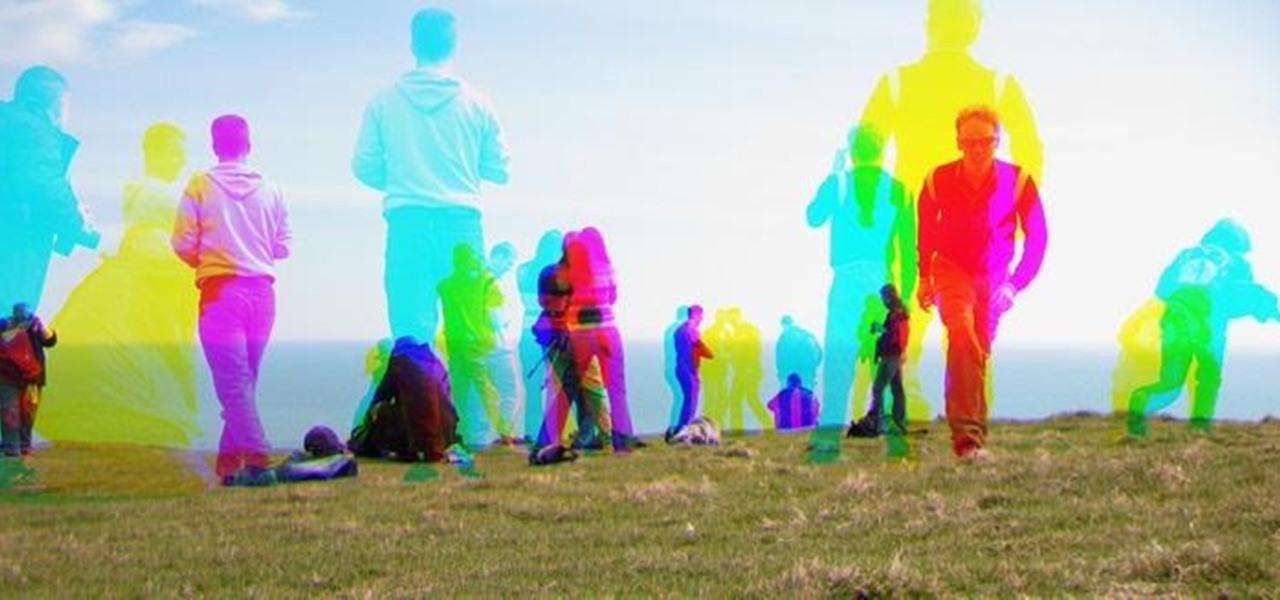
How To: Use the Harris Shutter Effect to Get Crazy, Colorful Action Photos
Want to take vibrant photographs like this one? You won't find this filter in Instagram, and that's because it's a little more difficult than just slapping a digital filter on a solo photo. The extra RGB colors are created using a special strip device called the Harris shutter, invented by Robert Harris of Kodak.
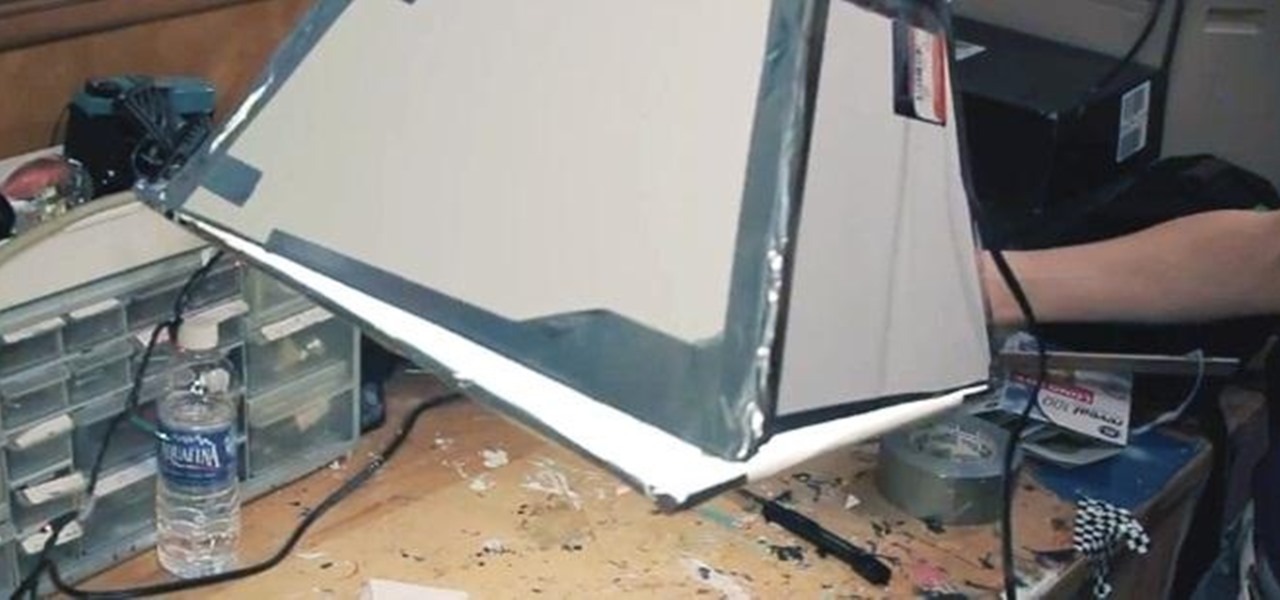
How To: Make a Super Cheap Soft Box for Pro-Looking 'Soft' Light in Your Photos
Remember the young Parker who taught us how to make fun things like the ghost trap from Ghostbusters and the cheap severed leg effect? Well, he's definitely grown since then, and in his latest video he takes a more practical approach to DIY with a cheap and easy soft box for you home photography studio.
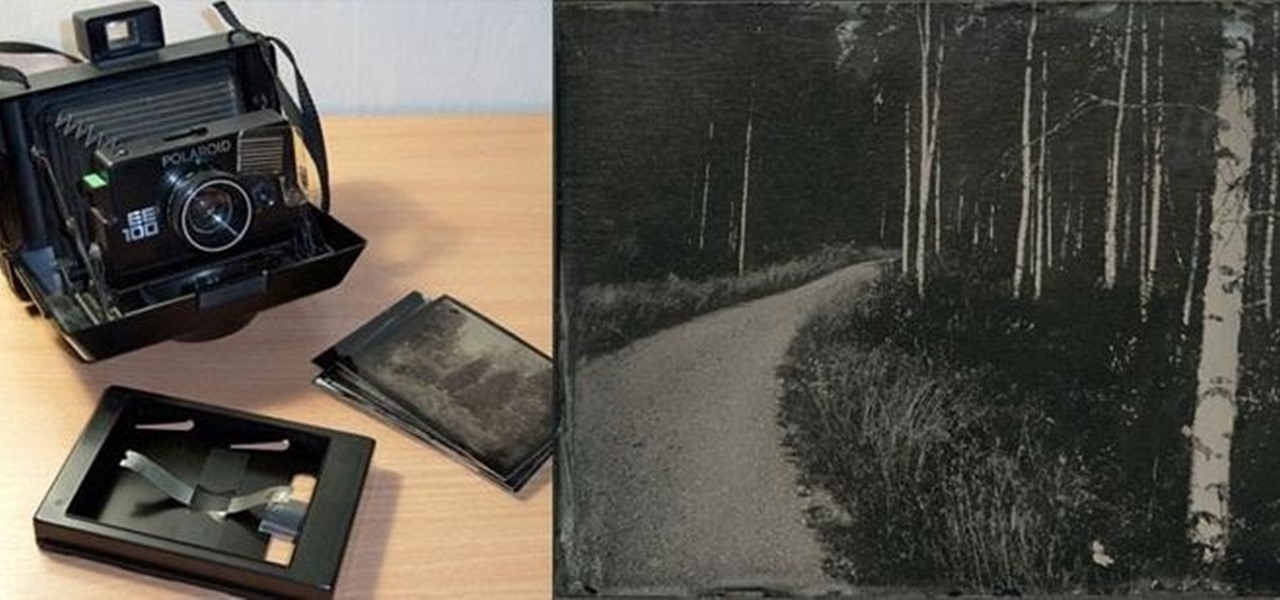
How To: Mod Your Old Polaroid Camera for Wet Plate Collodion Photography
Wet-plate collodion photography is a process that lets you develop a photo onto a piece of glass. It has some neat applications, but it's not a simple process, and most people use a special camera to do it because the silver nitrate used to process usually ends up leaking, which would ruin a regular camera.

How To: Take beautiful photo studio portraits with one light
Learn three different studio portrait lighting techniques using just one light.
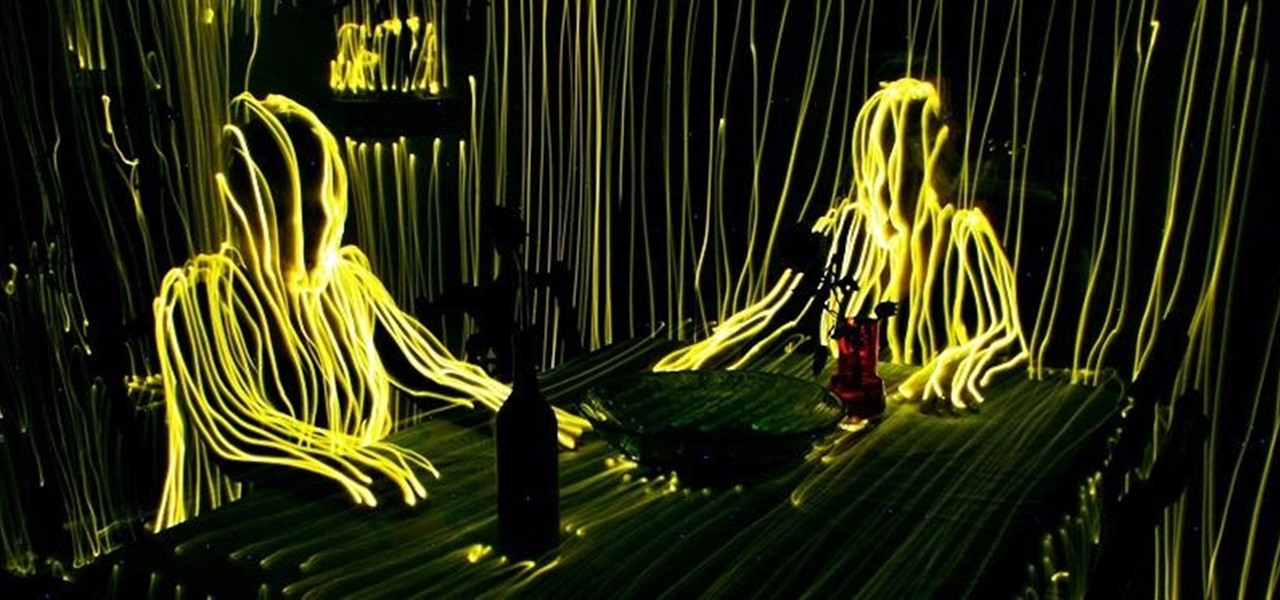
Extreme Light Painting: Artist Uses Just One LED to Trace Entire Rooms with Light Waves
How many trips up and down the stairs do you think it took artist Janne Parviainen to create this incredible topographical light painting? Apparently, quite a few. Using only one LED, he moves around his house, tracing all of the surfaces. Sometimes the exposure times are up to 30 minutes to achieve this effect. He's done similar projects in the past, like these fun, but slightly creepy skeletons. Check out Janne's website and Flickr profile to see more of his work.
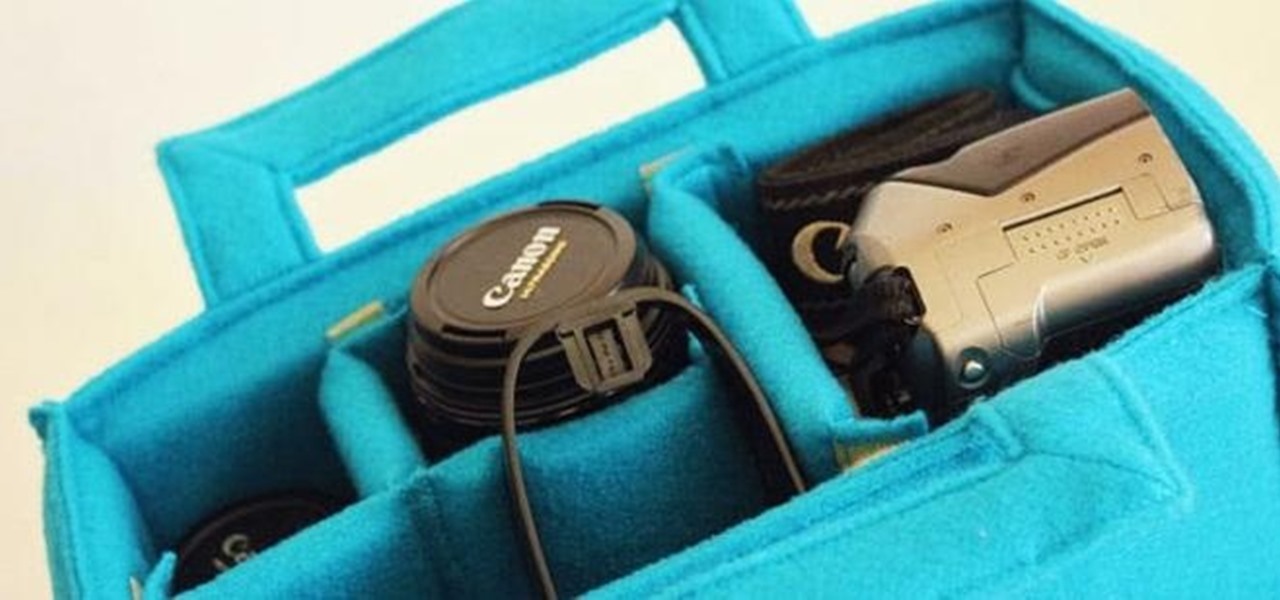
How To: Make a DIY Camera Bag Insert to Protect Your Gear
When you have expensive camera equipment, the last thing you want to do is just throw it all in a bag without any kind of protection. If you don't want to buy a separate bag, you can always use an insert, but they can get pretty pricey, too.
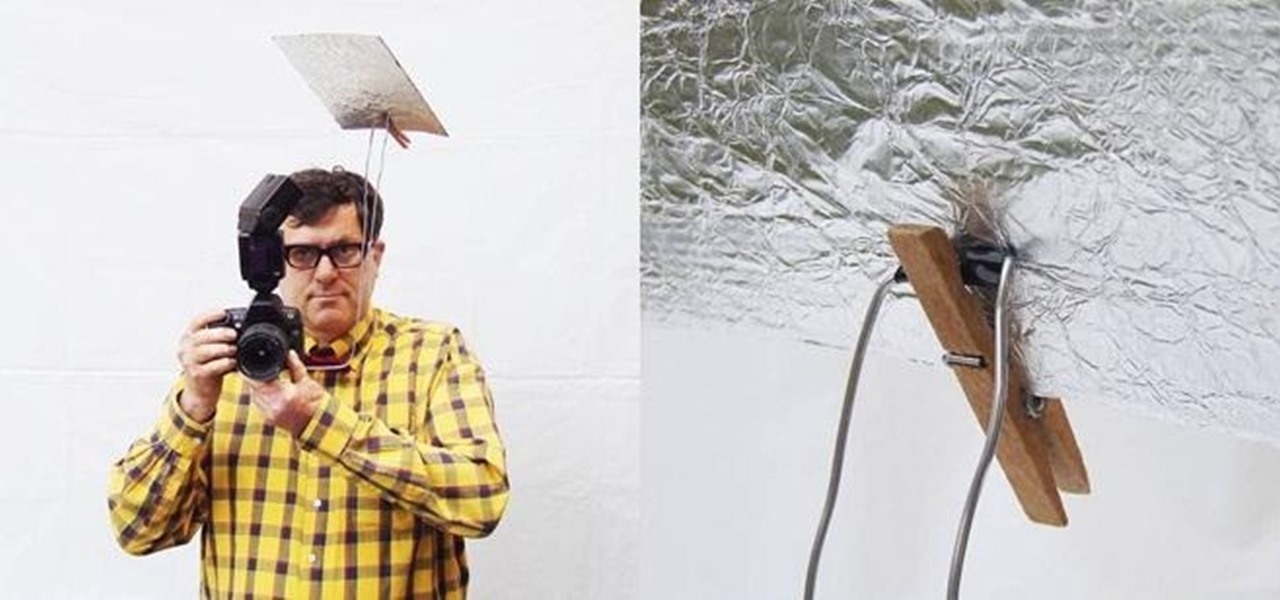
How To: This DIY Camera-Mounted Flash Bounce Wall Does Wonders for Your Photos (And Your Wallet)
Everyone has taken a photo that didn't turn out quite right because of bad lighting or a flash that produced too much or too little light. A flash can make your subject look washed out, or even downright creepy with bright white skin and red eyes. But with a bounce wall, you can redirect the light to make it less harsh and reduce the shadows. It also means less demonic-looking cats. Bounce walls can be expensive, but David Hobby of Strobist made this DIY version that uses a wire hanger, some ...

How To: Give Your Photos a Surreal Effect by Stacking Negatives
Want to add cool effects to your photos without using expensive equipment? Photographer Laina Briedis created these gorgeous shots by stacking 35mm negatives of starry or cloudy skies on top of photos of people to give them a surreal, dreamlike effect. There are a few ways to go about it. Laina explained to PetaPixel that you can do this with or without a darkroom. If you have access to one, you can expose two negatives at the same time by stacking them, or expose them separately onto the sam...
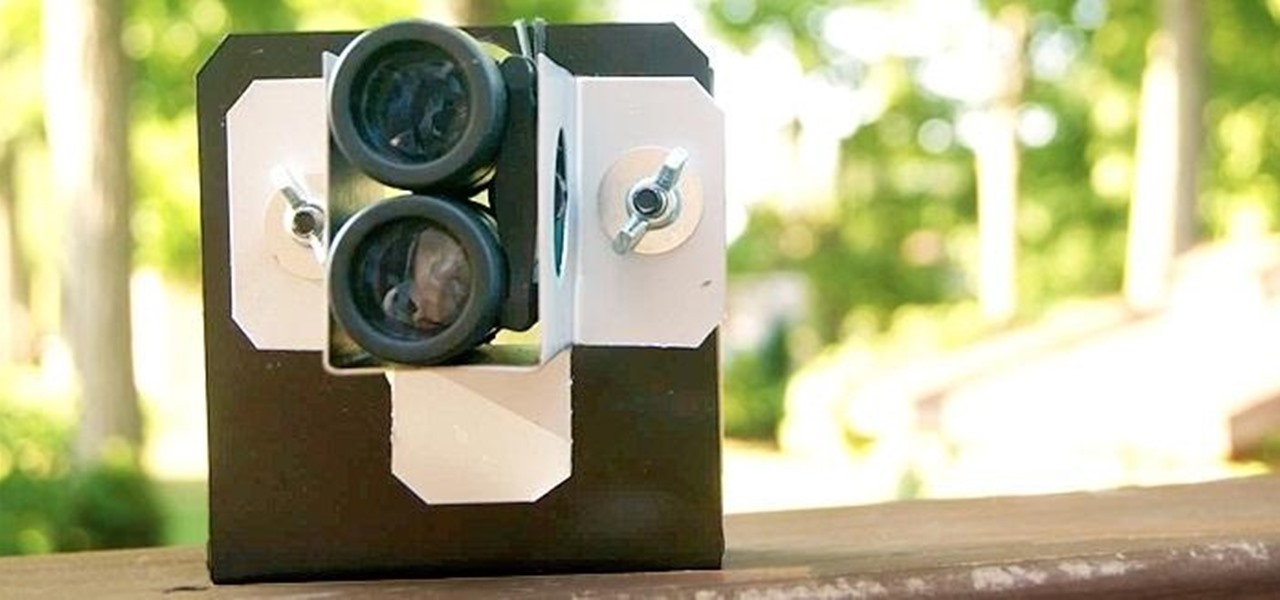
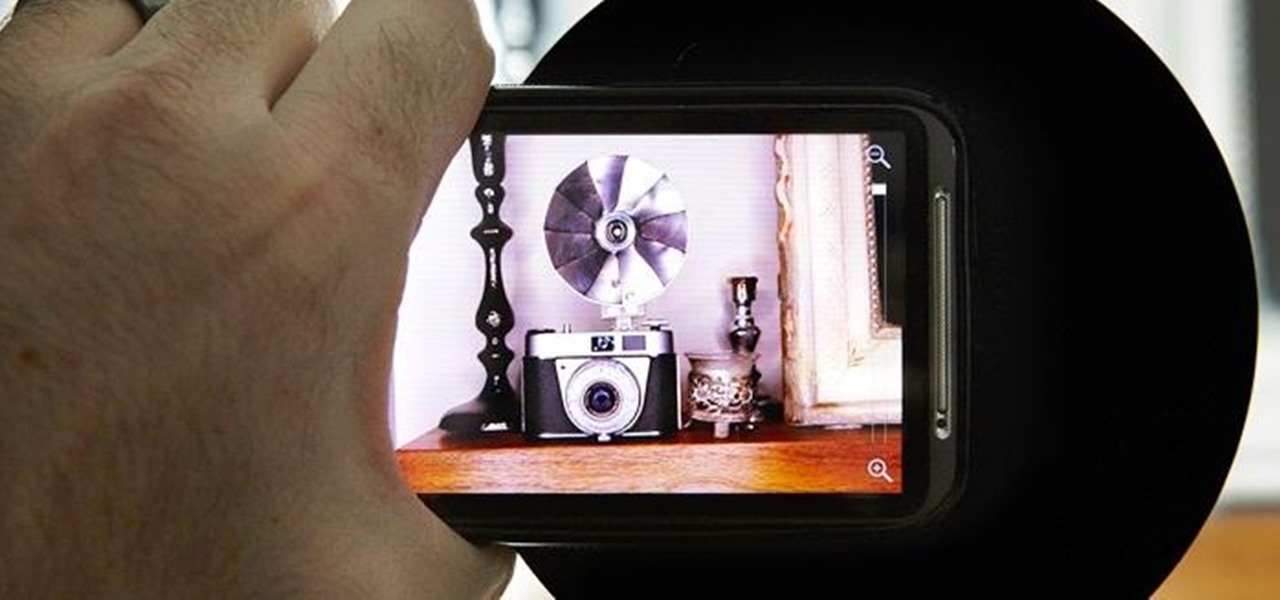
How To: Build a Cheap and Easy Optical Zoom Lens for Your Smartphone
Love taking photos with your smartphone, but don't have a zoom? This tutorial by Unitips will show you how to DIY one with a few simple parts. All you'll need is 1/4" bolts, washers, and wingnuts (two each), some sheet metal, and a pair of binoculars.
How To: Build a DIY digital SLR (DSLR) camera cage for smooth and steady video
A DSLR cage from a professional photographer supply store will cost at least a few hundred dollars, but you can build one yourself for around 50 bucks. This tutorial shows you how to use a few pipes, metal struts and a few pieces of hardware and tools to make your own digital SLR cage for shooting steady videos on your digital camera.
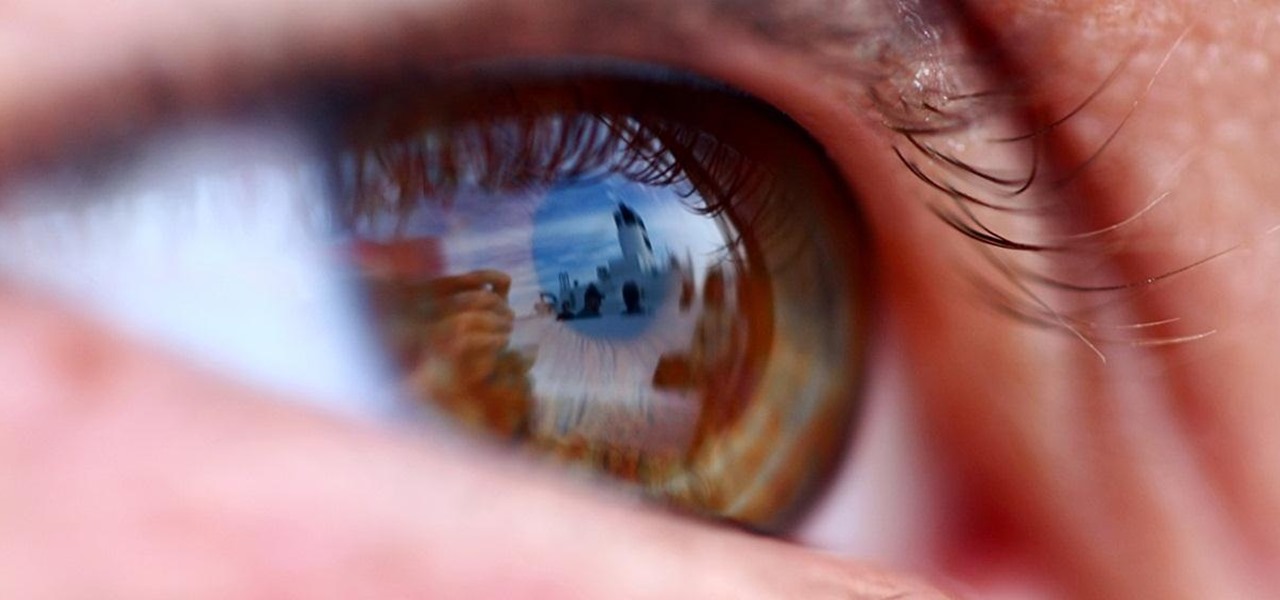
News: Corneal Imaging Photo Process Reveals the Hidden, Reflected 'World in an Eye'
You can take some absolutely gorgeous photos using the natural reflection that appears in people's and animals' eyes. With the right angle and lighting, you can even see a detailed picture of what the subject was looking at when the photo was taken. Photo by Martin Cathrae

News: The Iridescent Beauty of Bursting Bubbles Captured with High-Speed Photography
Swiss photographer Fabian Oefner wanted to capture the moment right before a bubble bursts, a feat that required surprisingly little equipment, but a lot of time and patience. The result was well worth it though. Here's a quick before and after: The trick to the color, he says, is lighting the bubbles from all angles. He placed illuminated panels all around and used a high-speed flash. The bubbles were blown through a sugar funnel. The trickiest part, not surprisingly, is capturing the exact ...
How To: Record Videos by Digital SLRs
Looking for videography Tips
How To: Make a backdrop for photo shoots
This is a great video on how to make your own backdrop for photography shoots.

How To: Shoot a white object on a white background
Anxious about shooting a white foreground object against a white background? Learn how to take stunning white-on-white photographs with this free video photography lesson. For more information, including detailed, step-by-step instructions, and to get started taking your own wintry photographs, take a look.
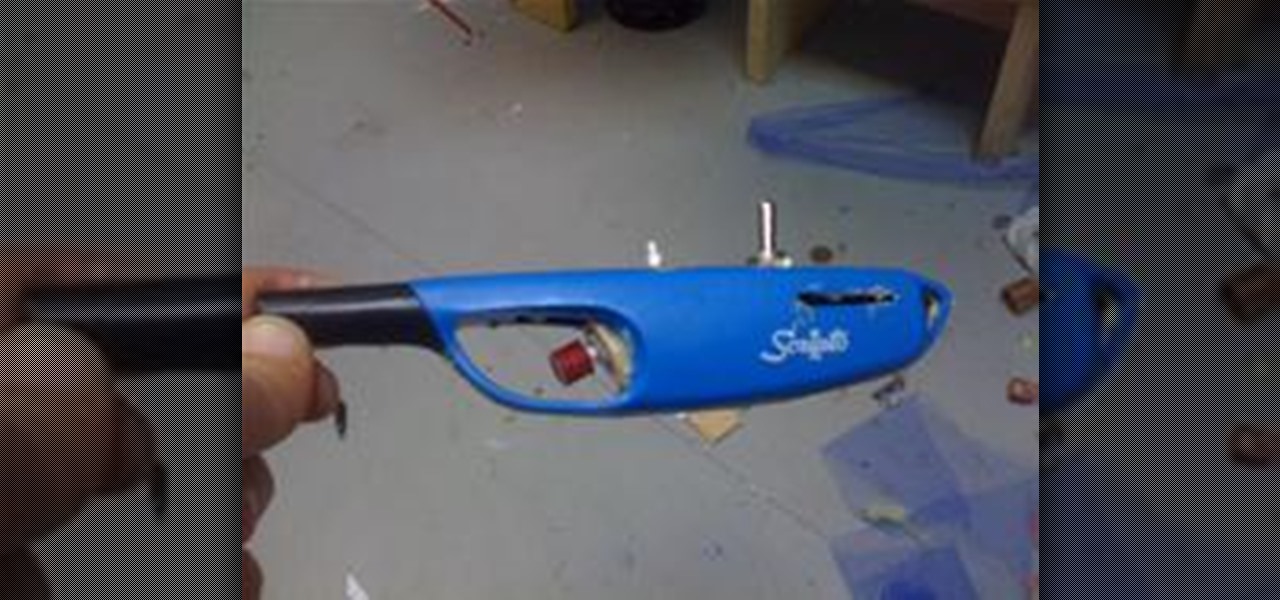
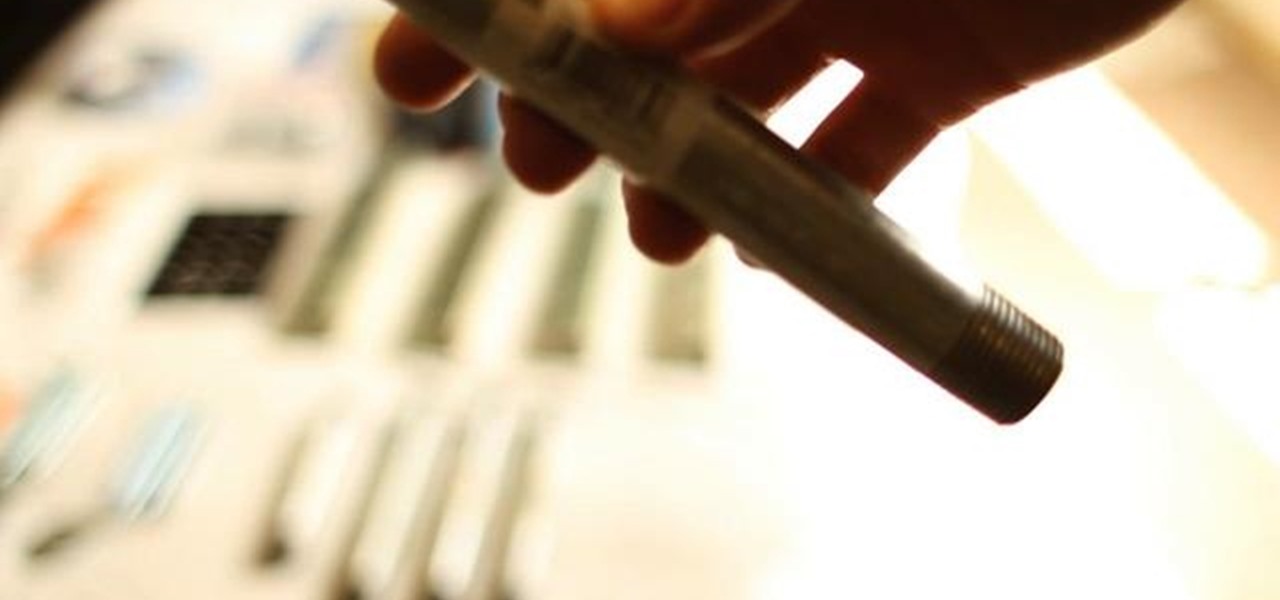
How To: Make a Canon Shutter Release Cable
This article will show you how to make a shutter release cable for a Canon camera. It took me about half an hour once all of my materials were gathered. I came in at a total of about eight dollars. It has three switches and buttons. The black button on mine triggers the auto focus. The red button triggers the shutter. Finally, the switch triggers the bulb mode, or long exposure. This can be used to take astronomical photos that show the movement of the stars in the picture. The release cable ...