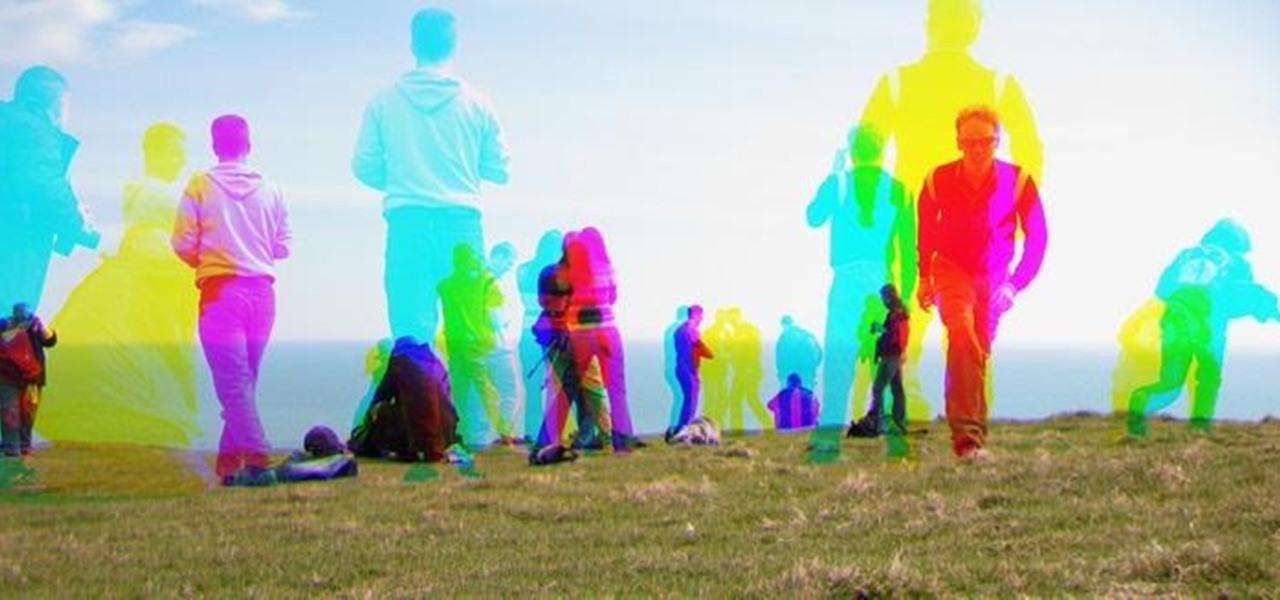

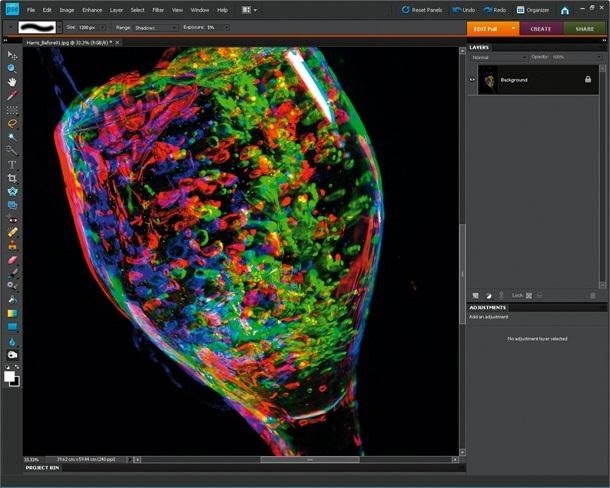
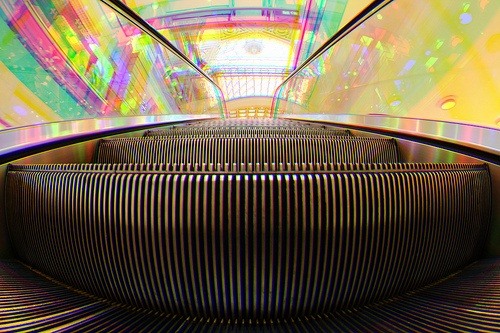
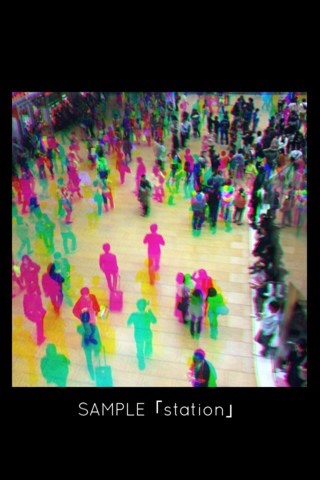
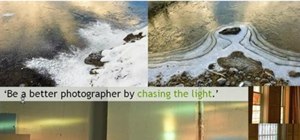
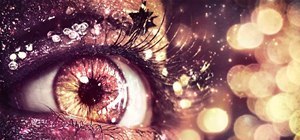
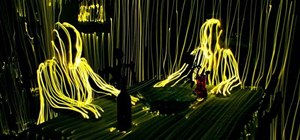
Want to take vibrant photographs like this one?
You won't find this filter in Instagram, and that's because it's a little more difficult than just slapping a digital filter on a solo photo. The extra RGB colors are created using a special strip device called the Harris shutter, invented by Robert Harris of Kodak.
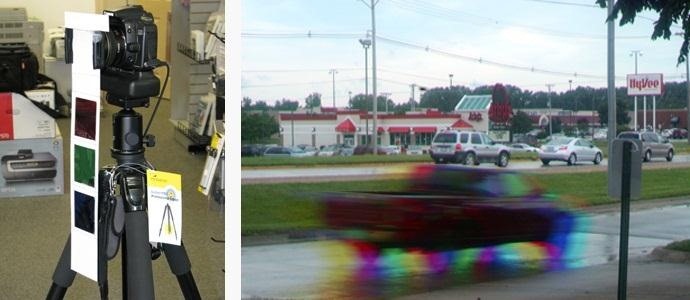
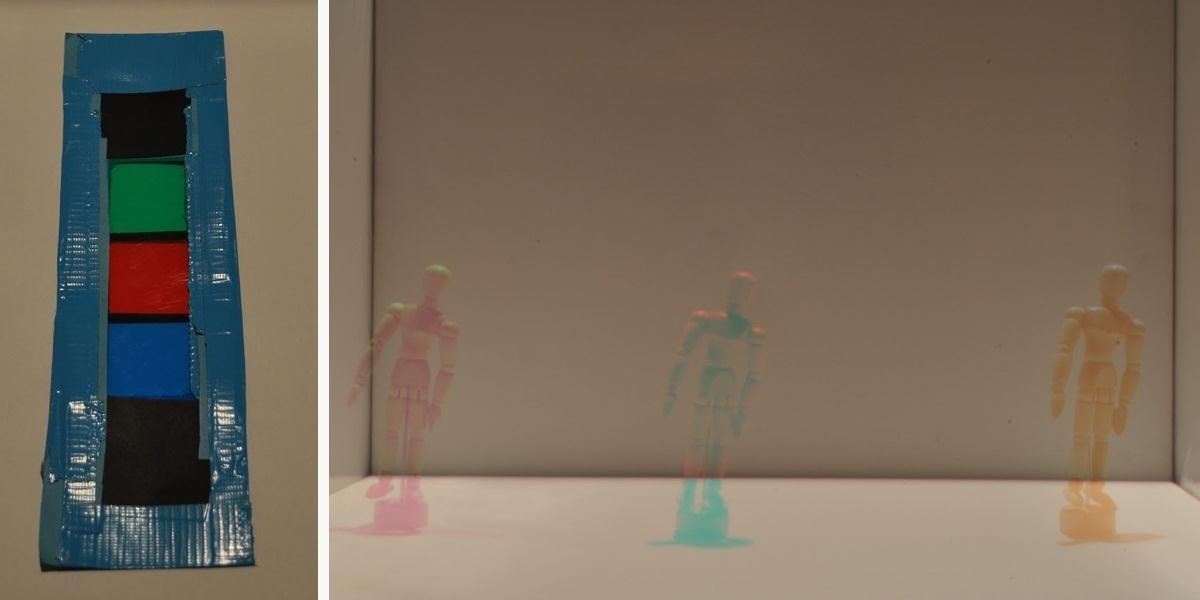
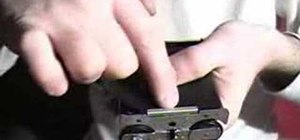
It was basically just a cardboard box with two holes on opposite ends where the camera lens would slide through. The front end of the box acted as a guide for a strip with three different colored gelatin filters (red, green, and blue) mounted on it, which would pass over the lens while taking a long exposure photo in bulb mode.
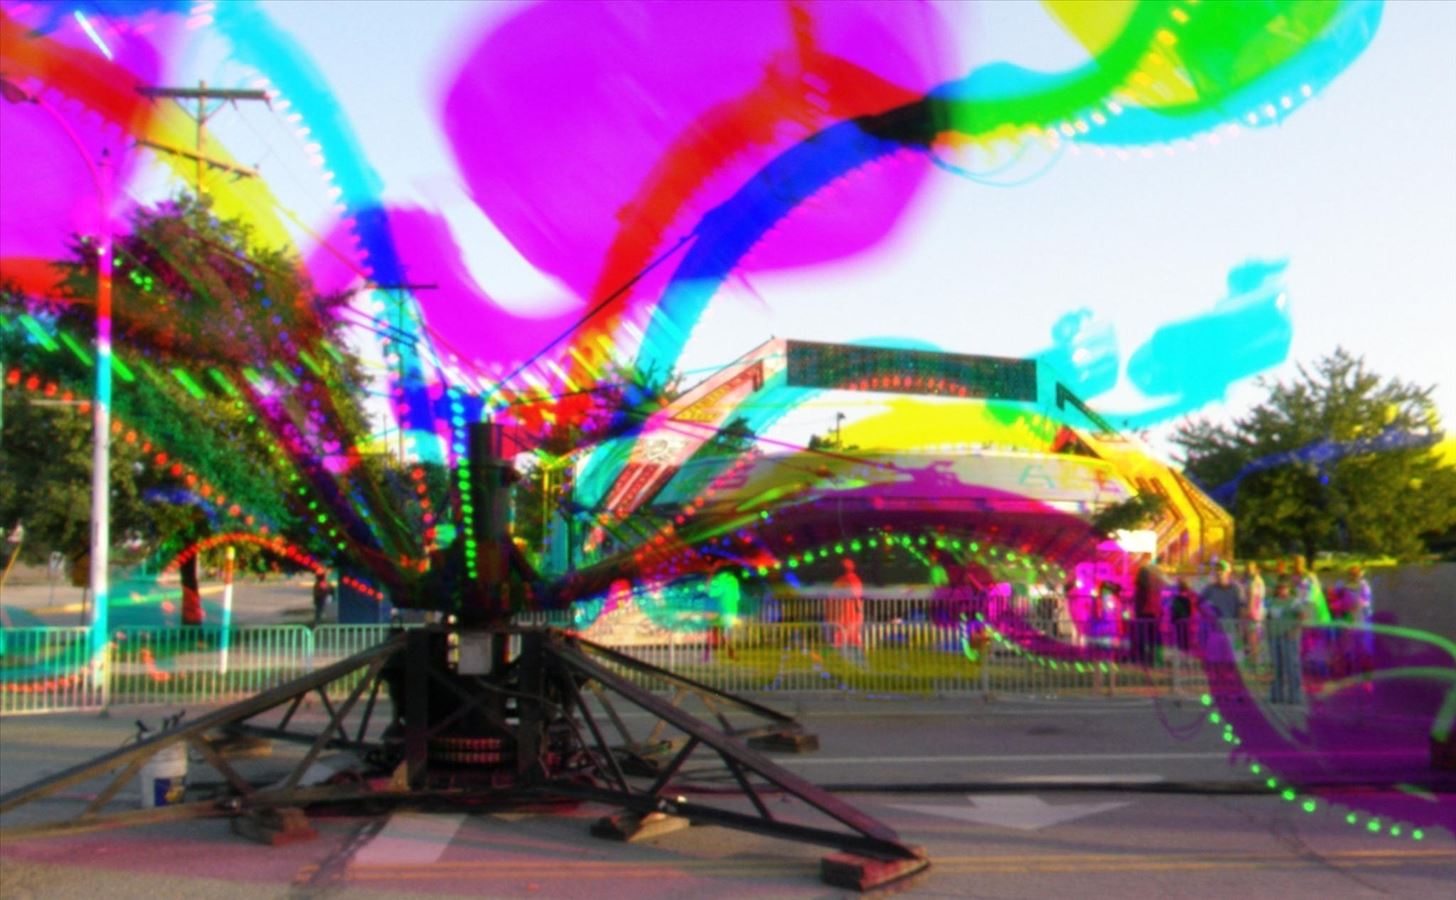
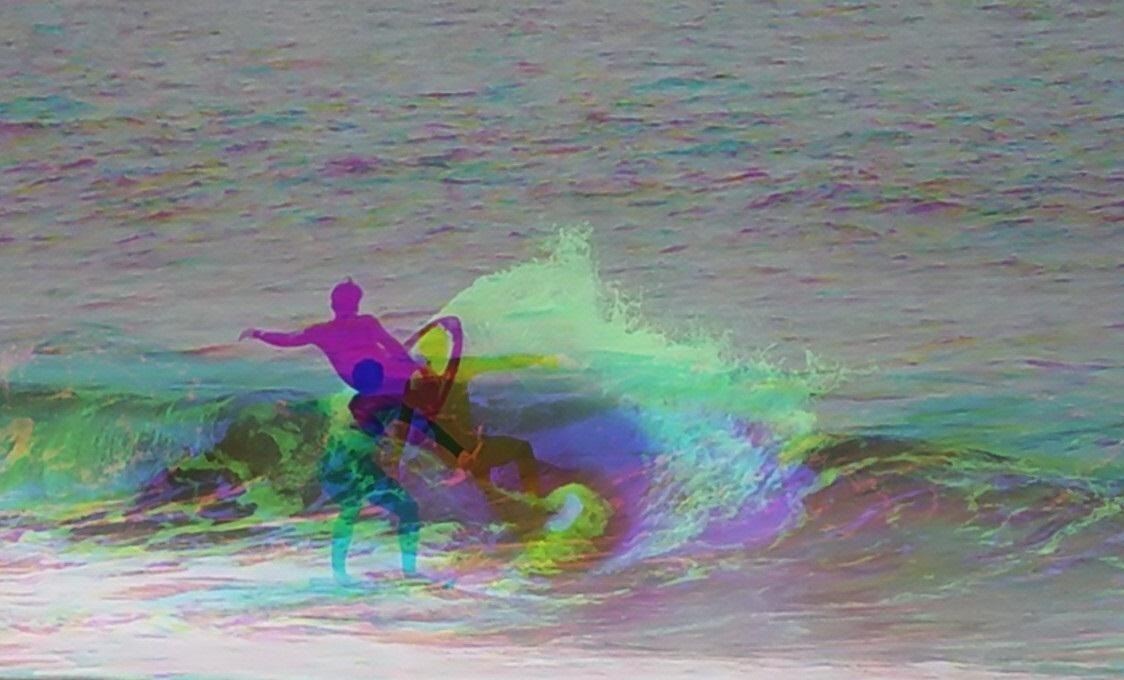
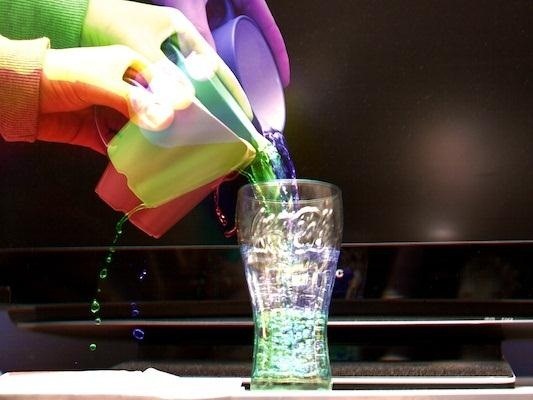
The device creates rainbows of color around anything that's in motion when the long exposure photo is taken.
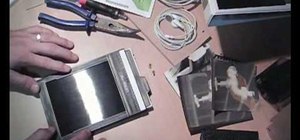
Want to build your own? It's not all that hard, if you can find the right colored gels. That's all you really need besides some cardboard and tape, but if you want a more professional DIY version, check out Joe's tutorial on Porter's Camera Blog. It's split up into four parts, so just click on these links to find them all: 1, 2, 3, and 4.
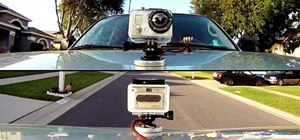
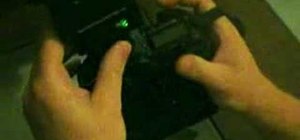
You can get a more separated-color effect by taking multiple exposures in your DSLR camera, if you have the capabilities, or by using your lens cap to simulate a multiple exposure shot like Zachary from The Photographic Wanderer did. As you can see, his Harris shutter is made up construction paper, duct tape, and filters, so it's not hard to make at all.
Don't want to make a 'physical' Harris shutter device? Well, it's easy to recreate the effect in Photoshop. Here are a few different ways to do it.
Digital Filters in Photoshop Elements
If you have Photoshop Elements, you can apply color fills and blending modes to isolate the colors in each shot. Basically, you create a layer for each color, then use different blending modes and merge the three together.
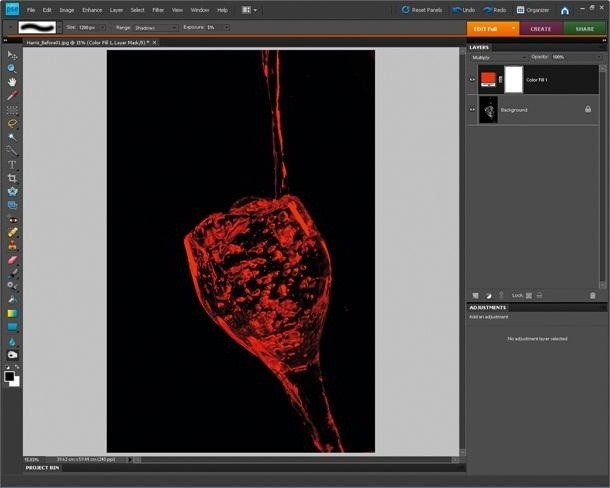
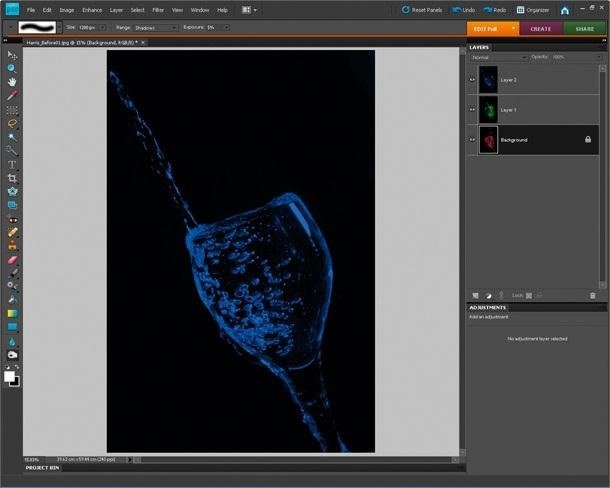
Check out the tutorial by Digital Camera World to see the detailed process.
Separate RGB Channels
For this method, you need to take three photos of something in motion, keeping the camera as still as possible and using the same settings on all three.
Open the images in Photoshop or GIMP (or whatever editing software you like). Isolate the red channel in the first, green in the second, and blue in the third, then merge the three together.
For more details, check out Photography Blogger's article.
Color Balance
This method also requires three photos. For each one, open up the Colors menu and find Color Balance. Adjust the settings so that each photo has 100% of one color, but none of the other two.
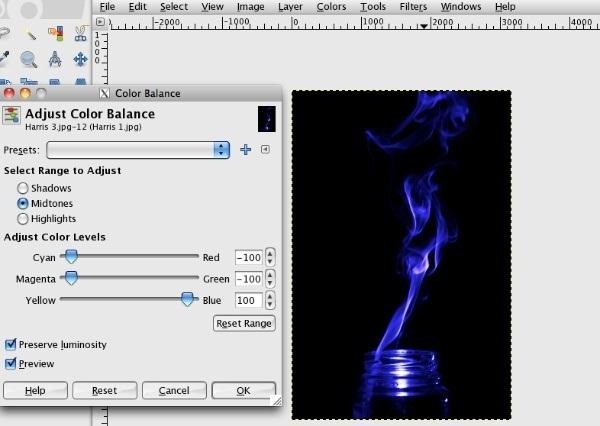
Now, just merge the three layers and you're done.
Check out the tutorial over on Expert Photography to see the step-by-step process.
HarrisCamera for iOS Devices
If you don't have a photo-editing program, or you're just feeling lazy, there's an iPhone app called HarrisCamera that can recreate the Harris shutter effect for you.
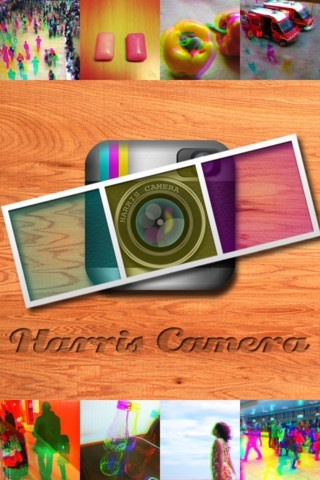
All you have to do is take three photos. The app will automatically use a different filter for each one, and then merge them together for you. It even has an automatic timer you can set to make it even easier.
It's only available for the iPhone right now, though, but hopefully there will be an Android version soon. You can snag it at the iTunes App Store for $0.99.
The Harris shutter technique is great because it's so versatile and visually impressive, but not incredibly complicated to do. It can be done with pretty much anything that's moving, so get creative and, as always, be sure to share your results with us over on the Inspiration section!
Just updated your iPhone? You'll find new emoji, enhanced security, podcast transcripts, Apple Cash virtual numbers, and other useful features. There are even new additions hidden within Safari. Find out what's new and changed on your iPhone with the iOS 17.4 update.


Be the First to Comment
Share Your Thoughts