

You may remember this badass wall of flames photo...
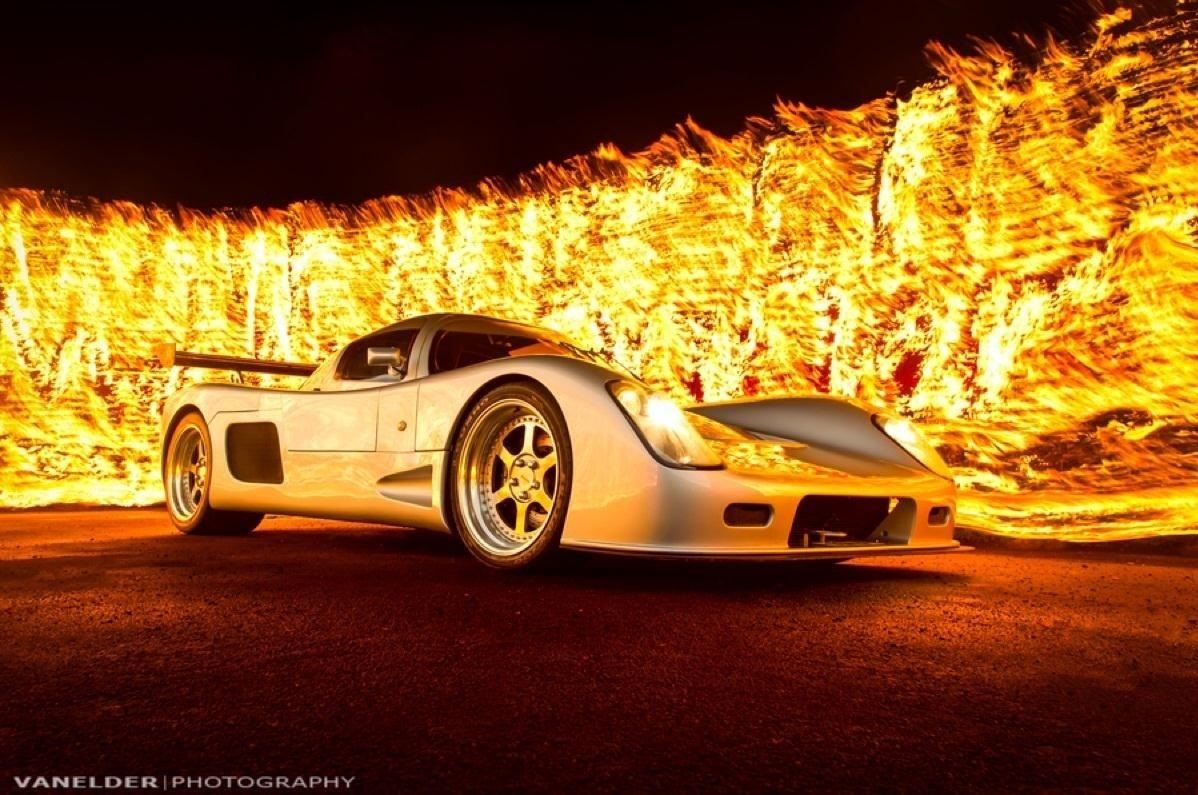
That's because last month I highlighted a tutorial by photographer Barry Elder that showed how to light paint with fire.
This dangerous technique involves dipping a strap in petrol, attaching it to a rope, then lighting it on fire. The fire assistant then parades around the car (or other subject) with the flames, while the photographer captures the action with the shutter open, giving the illusion of a giant wall of flames.
Well, since this is a very tricky photo to get right, Barry decided to do a followup guide on his site that goes more in depth about the full process. In detail, he covers issues of wind, ambient temperatures, walking-with-fire speed, rope/strap thickness, and camera settings.
Fixing Wind Problems
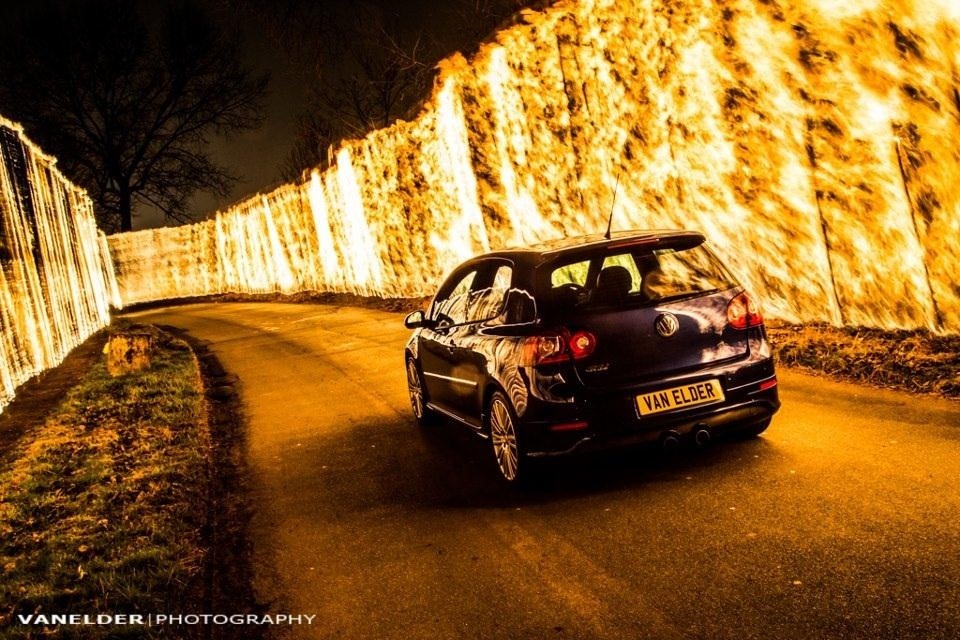
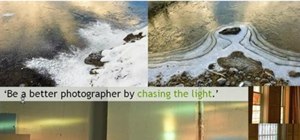
One issue that many were having was with wind and the factor that it had on the flames. Many times, drafts would come in and cause the flames to flicker, reduce in strength (like on the left side of the picture below), and even turn off completely.
Elder suggests to never try and perform this tutorial in the wind. Try finding another site, because the wind will not only waste your fuel, but also your time.
Fixing Your Walking Speed
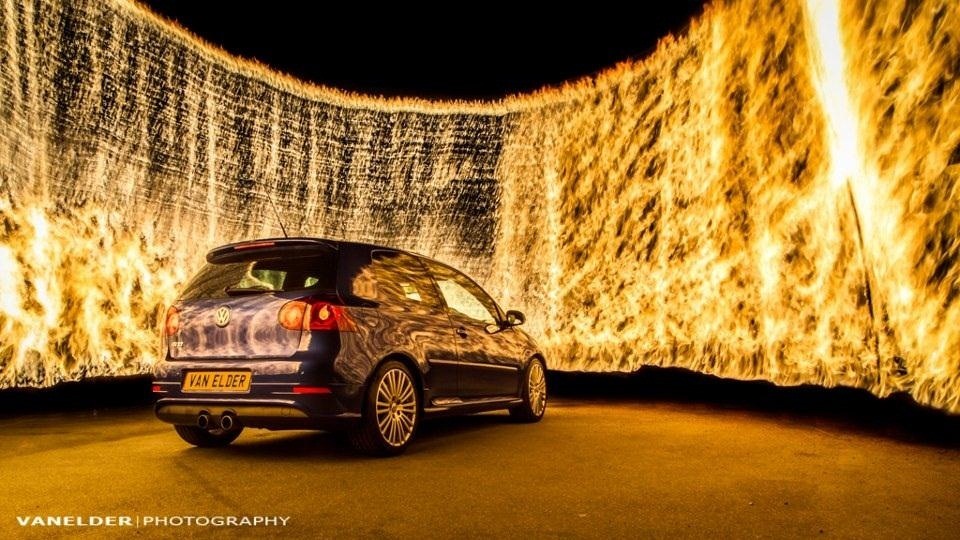
Another tip that Elder suggests is to monitor the way you walk around with the flame in hand when shooting. Just like with the wind, walking too slow or too fast can have adverse effects on the flame, causing it to burn out or overexpose the shot.
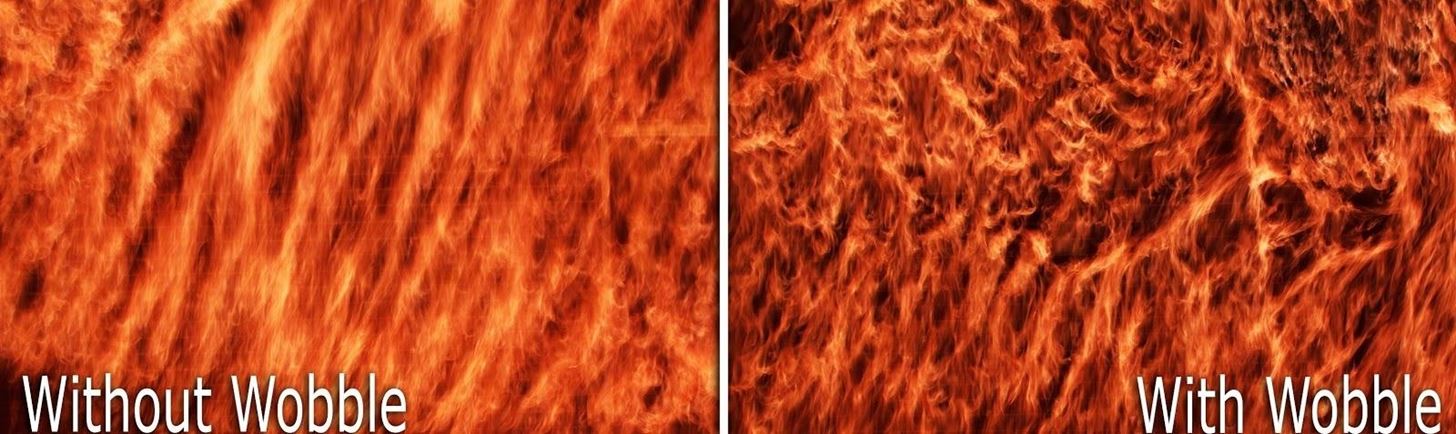
Before starting the final shoot, you should practice walking around with the flame and keeping an eye on the flames so as to have it at a maximized level. Another tip that Elder has is to wobble when you walk around with the flame. This allows the flame to get more oxygen, thus giving it a more realistic burning effect.
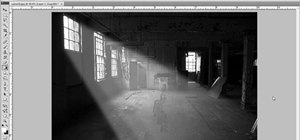
Fixing Your Camera Settings
The toughest issue stemming from this tutorial has to be the camera settings. Since all cameras and locations are not designed the same, it is generally a touch question to resolve.
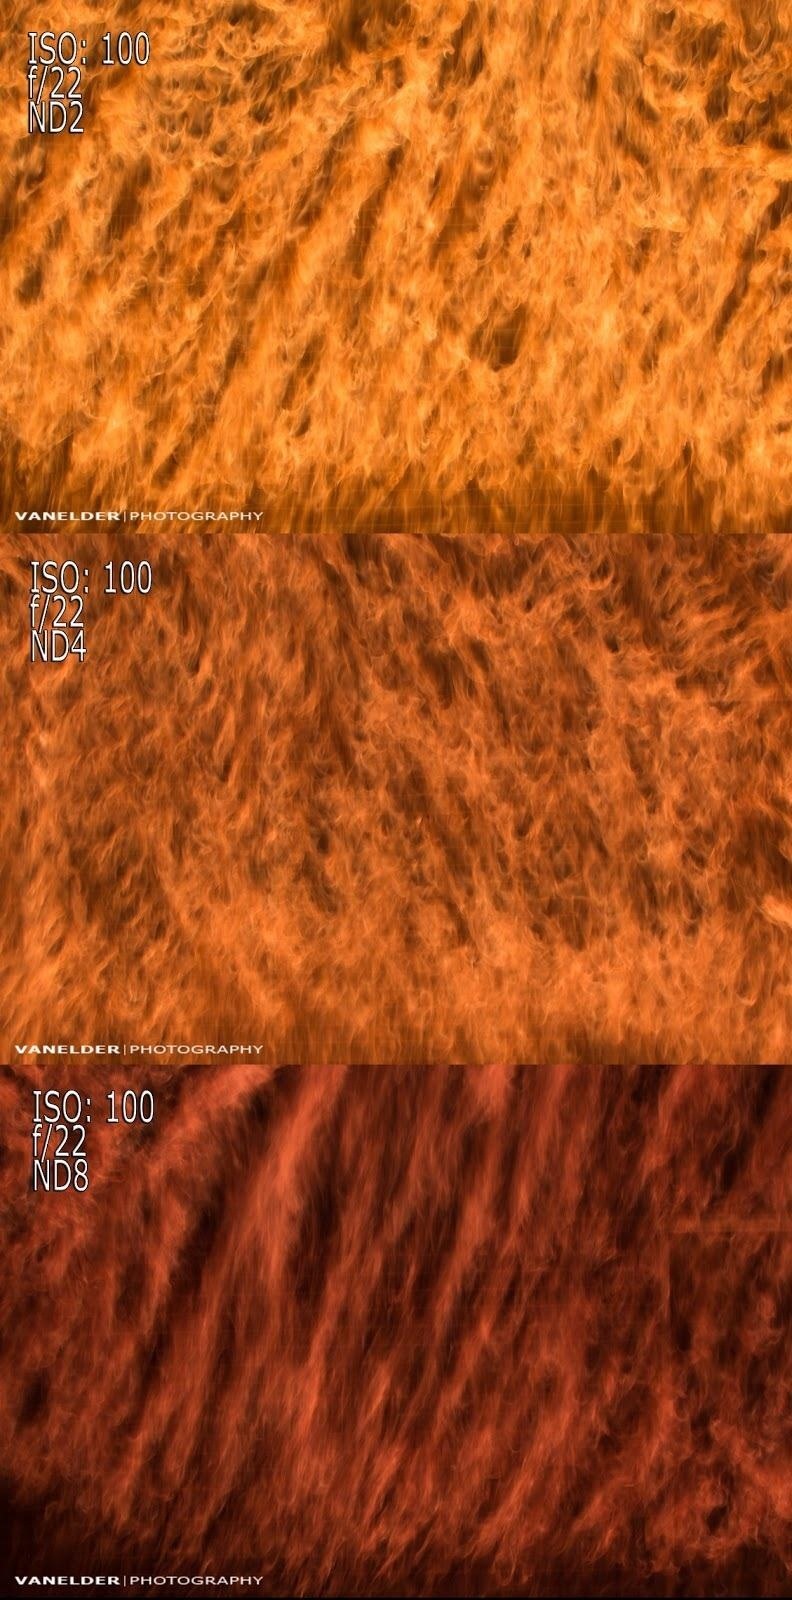
What Elder does suggest is to manually set the ISO to 100 and the white balance to something static, allowing you to experiment with the aperture. From there, close your aperture to something smaller like F10, and keep checking your results. If your aperture becomes as small as F22 and your pictures are still overexposed, neutral density filters might just be the fix.
Below are a few of the settings that Elder used during his shot, using a 24mm roll, standing about 3.5 meters from the firewall and different neutral density filters.
The project isn't easy, so experiment with all the settings in your environment until you have what works. Don't try and hurry with having perfect settings, as this tutorial is not one that should be rushed.
You can check out the rest of his Barry's tips on his site.
Just updated your iPhone? You'll find new emoji, enhanced security, podcast transcripts, Apple Cash virtual numbers, and other useful features. There are even new additions hidden within Safari. Find out what's new and changed on your iPhone with the iOS 17.4 update.


Be the First to Comment
Share Your Thoughts